
To remove the canister from a Shark vacuum, press the button located at the top of the canister and lift it out. Twist the canister counterclockwise to release it from the vacuum base.
It is important to follow these steps carefully to avoid damaging the vacuum. A Shark vacuum is a powerful cleaning tool that can make household chores much easier. However, in order to keep it functioning properly, it’s important to know how to properly maintain and clean it.
One essential maintenance task is removing the canister for cleaning or emptying. With the right technique, removing the canister can be a quick and easy process. We will guide you through the steps to remove the canister from a Shark vacuum, ensuring that you can keep your vacuum in top working condition.
Why Canister Removal Is Important
Canister removal is a crucial aspect of maintaining your Shark vacuum. Understanding why canister removal is important can help you ensure the efficient performance and longevity of your vacuum. Let’s dive into the reasons why canister removal is vital for your vacuum.
Improves Vacuum Efficiency
Removing the canister from your Shark vacuum is essential as it allows you to clean and empty the canister, enabling the vacuum to maintain peak efficiency. A clean canister ensures better suction power, allowing the vacuum to effectively pick up dirt, dust, and debris from your floors. By regularly removing the canister, you can prevent clogs and maintain optimal airflow, ultimately improving the vacuum’s overall performance.
Easier Maintenance
Canister removal makes vacuum maintenance much simpler. By regularly disassembling and cleaning the canister, you can prevent dirt and debris buildup, extending the lifespan of your vacuum. Additionally, easy access to the canister facilitates the replacement of filters and other components, ensuring that the vacuum operates at its best capacity for a longer period.
Understanding The Anatomy Of A Shark Vacuum
The process of removing the canister from a Shark vacuum is straightforward. Simply release the latch or button mechanism located on the body of the vacuum to detach and empty the canister easily and efficiently.
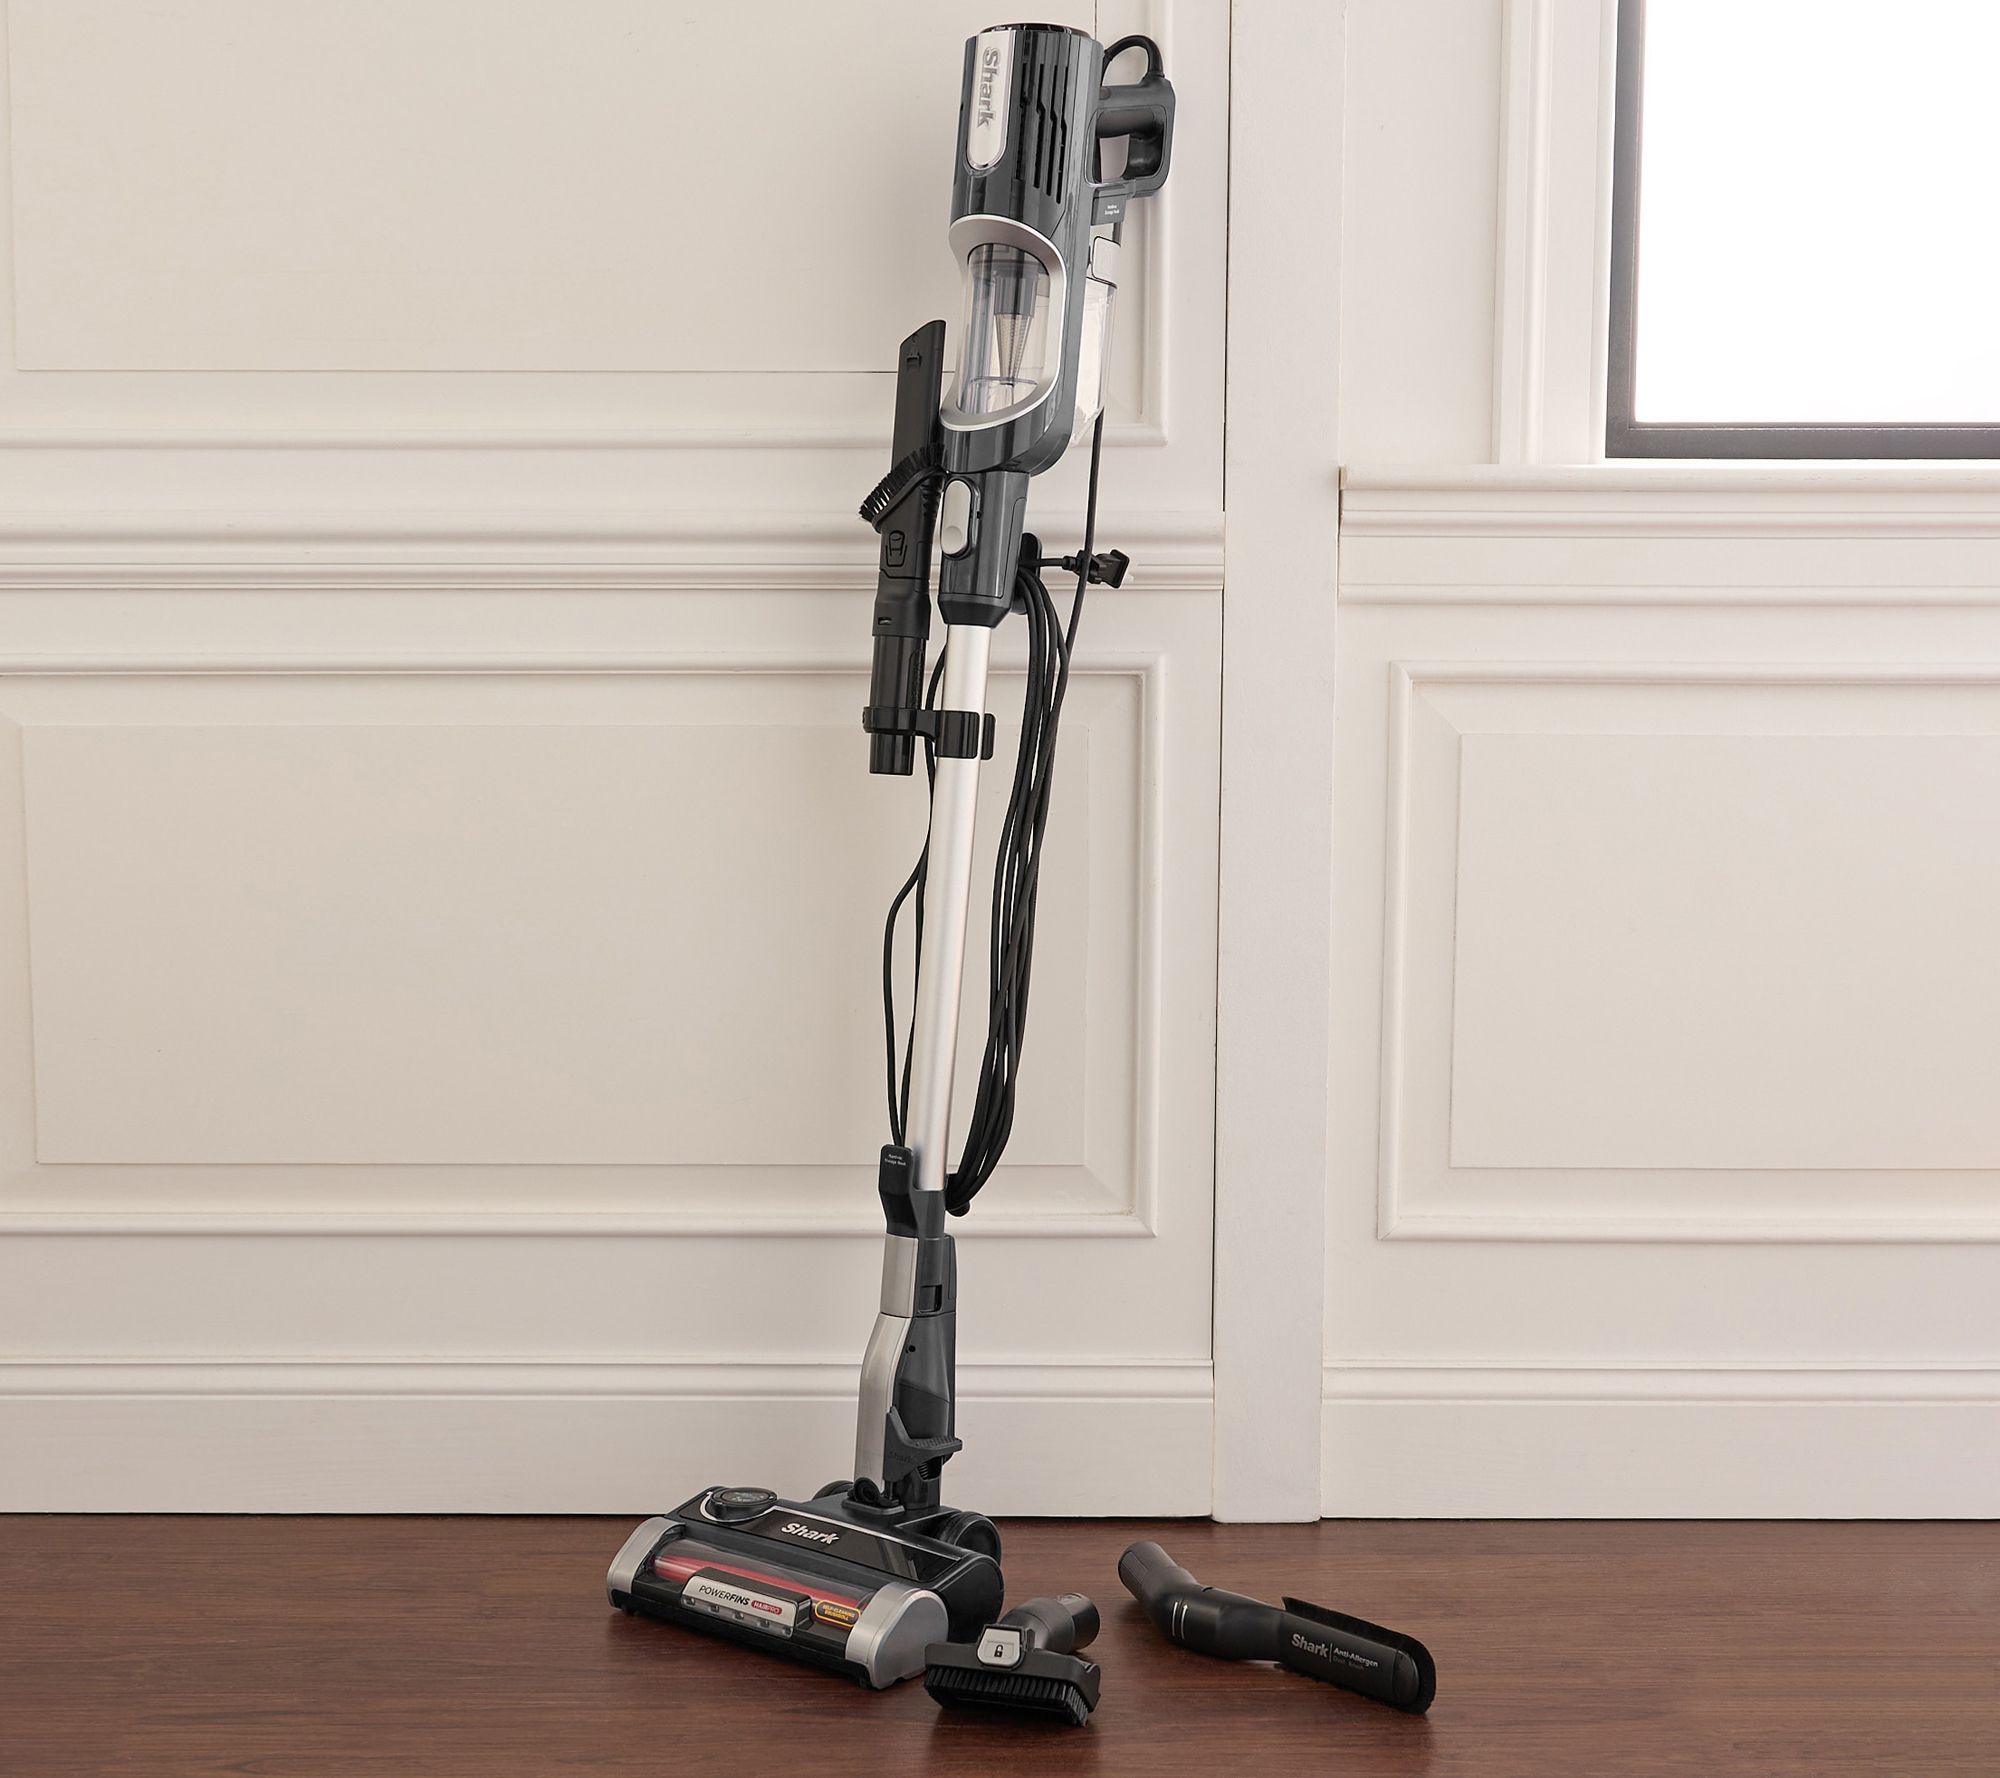
Understanding the Anatomy of a Shark Vacuum Main Components When it comes to understanding the canister removal process of a Shark vacuum, it’s vital to first familiarize yourself with the main components of the device. The essential parts of a Shark vacuum include the motor, brush rolls, filters, hose, wand, and the dust cup, also known as the canister. Each component plays a crucial role in the overall functionality of the vacuum, ensuring efficient cleaning performance. Function of the Canister The canister of a Shark vacuum serves as a container for collecting dirt, debris, and dust during the cleaning process. It is a detachable part designed for easy removal, emptying, and cleaning. The canister efficiently traps the dirt and prevents it from re-entering the air in your home, ensuring a healthier environment. Understanding the function of the canister allows users to maintain and clean this vital component for optimal performance. In addition to collecting dirt, the canister also houses the filters essential for capturing fine particles and allergens. Proper maintenance and regular cleaning of the canister and its components are crucial for the vacuum to operate at its best, maintaining suction power and overall efficiency. By understanding the role of the canister and its significance in the cleaning process, users can ensure that their Shark vacuum continues to deliver exceptional cleaning results.
Preparation Steps
Before you can remove the canister from your Shark vacuum, there are a few important preparation steps to follow. These steps ensure your safety and help you to navigate the process smoothly. In this section, we will outline the essential preparation steps you need to take.
Turn Off And Unplug The Vacuum
The first and most crucial step is to turn off and unplug your Shark vacuum. Safety should always be your top priority when dealing with any electrical appliance. By turning off and unplugging the vacuum, you eliminate the risk of electric shocks or accidental injuries.
Clear The Vacuum Path
Next, you need to clear the vacuum path. This involves removing any obstructions that might hinder the canister removal process. Check the vacuum head, hose, and any attachments for debris, tangled hair, or large objects that could impede your progress.
If you find any debris or objects, use your hands or a small brush to gently remove them. Be cautious when handling sharp objects, and take care not to damage any components or the vacuum itself. Remember, a cleared vacuum path ensures smooth canister removal and improves the overall performance of your Shark vacuum.
In conclusion, preparing your Shark vacuum for canister removal involves turning off and unplugging the device and clearing the vacuum path of any obstructions. By following these essential steps, you can proceed safely and with ease. Now that you have completed the preparation steps, you are ready to remove the canister from your Shark vacuum.
Step-by-step Guide To Removing The Canister
This step-by-step guide provides a simple and efficient method to remove the canister from your Shark vacuum. With easy-to-follow instructions, you’ll be able to efficiently maintain and clean your vacuum for optimal performance.
Removing the canister from your Shark vacuum is a simple and straightforward process that can be done in just a few easy steps. Follow this step-by-step guide to ensure a hassle-free experience:
Locate The Latches Or Release Buttons
The first step in removing the canister from your Shark vacuum is to locate the latches or release buttons that hold it in place. These can be found on either side of the canister or at the top of the vacuum body. Take a moment to familiarize yourself with their location before moving on to the next step.
Release The Canister
Once you have located the latches or release buttons, it’s time to release the canister. Depending on the model of your Shark vacuum, this may involve pressing down on the latches, sliding them to the side, or simply pressing a button. Refer to the user manual or the manufacturer’s instructions for your specific model to determine the exact method for releasing the canister.
Separate The Canister From The Vacuum Body
With the latches or release buttons activated, you can now separate the canister from the vacuum body. Gently lift the canister upwards and away from the body while ensuring that it is completely detached. Be cautious not to apply too much force or pull at an angle that could potentially damage the canister or the vacuum itself.
Once the canister is successfully removed, it is important to clean it thoroughly, empty any collected debris, and replace or wash the filters as needed. Refer to the user manual for instructions on cleaning and maintenance of the canister and filters to ensure the optimal performance of your Shark vacuum.
Common Challenges And Troubleshooting Tips
Removing the canister from a Shark vacuum can sometimes be more challenging than expected. Whether it’s due to a stuck or jammed canister, a canister that won’t release, or problems with latches or release buttons, we understand the frustration it can cause. In this section, we’ll provide you with some useful troubleshooting tips to help you overcome these common challenges and effortlessly remove the canister from your Shark vacuum.
Stuck Or Jammed Canister
If your Shark vacuum’s canister is stuck or jammed, don’t panic. Here are a few troubleshooting tips to help you resolve this issue:
- Check the bottom of the canister for any debris or dirt that may be causing it to get caught. Remove any blockages carefully.
- Ensure that the dirt cup is properly aligned with the vacuum’s body. If it’s misaligned, try repositioning it and then gently removing the canister.
- Consider applying a small amount of lubricant, like WD-40, to the canister’s release mechanism. This can help loosen any stuck parts and make removal easier.
- If the canister is still stuck, contact Shark’s customer support for further assistance. Their team of experts will be able to guide you through the troubleshooting process.
Canister Won’t Release
If the canister on your Shark vacuum won’t release, try the following troubleshooting tips:
- Ensure that the vacuum is turned off before attempting to remove the canister.
- Check if the release button is fully engaged. Press it firmly and try to remove the canister again.
- If the above step doesn’t work, inspect the latch mechanism for any visible obstructions or damage. Clean or repair the latch if necessary, following the manufacturer’s instructions.
- Try gently tapping the release button with a small object, like a hammer’s handle, to release any stuck or misaligned parts.
- If the canister still won’t release, reach out to Shark’s customer support for further assistance.
Problems With Latches Or Release Buttons
If you are experiencing problems with the latches or release buttons on your Shark vacuum, follow these troubleshooting tips:
- Inspect the latch and release buttons for any visible damage, such as cracks or breakage. If you find any, it may be necessary to replace these components. Refer to the product manual or contact Shark’s customer support for guidance.
- Clean any dust or debris that may be obstructing the latch or release button. Use a small brush or compressed air to remove the particles gently.
- If the latch or release button is loose, try tightening the screws or fasteners that secure them. This can help ensure a tighter connection and smoother operation.
- If the problem persists, contact Shark’s customer support for further assistance. They will be able to provide you with specific troubleshooting steps or arrange repairs if necessary.
Cleaning And Maintenance Of The Canister
When it comes to keeping your Shark vacuum in optimal working condition, regular cleaning and maintenance of the canister is essential. The canister is where the dust and debris accumulate while vacuuming, so it requires proper care to ensure efficient suction and prevent clogs. In this blog post, we will guide you through the steps of cleaning and maintaining the canister of your Shark vacuum, including emptying the dust and debris, washing the canister, and drying and reassembling it. Let’s dive in!
Emptying The Dust And Debris
Regularly emptying the dust and debris from your Shark vacuum canister is crucial for its performance. Follow these simple steps to get it done:
- Step 1: Ensure the vacuum is turned off and unplugged from the power source.
- Step 2: Locate the release latch on the canister. It is usually located near the handle or on the top of the canister.
- Step 3: Press the release latch to open the canister lid. Hold it over a trash bin or garbage bag.
- Step 4: Gently tap the sides of the canister to loosen any trapped dirt or debris.
- Step 5: Empty the contents of the canister into the trash bin or garbage bag.
Washing The Canister
To ensure your Shark vacuum canister remains clean and hygienic, it is recommended to wash it regularly. Follow these steps to wash the canister:
- Step 1: Separate the canister from the vacuum by following the manufacturer’s instructions.
- Step 2: Remove any filters or components attached to the canister.
- Step 3: Fill a sink or basin with warm water and a mild detergent.
- Step 4: Submerge the canister in the soapy water and use a soft brush or cloth to scrub away any dirt or residue.
- Step 5: Rinse the canister thoroughly with clean water to remove all the soap residue.
Drying And Reassembling The Canister
After washing the canister, it is essential to ensure it is completely dry before reassembling it and attaching it back to the vacuum. Follow these steps:
- Step 1: Shake off any excess water from the canister.
- Step 2: Place the canister in a well-ventilated area and allow it to air dry completely.
- Step 3: Once dry, reattach any filters or components that were removed.
- Step 4: Carefully align the canister with the vacuum and secure it in place according to the manufacturer’s instructions.
By regularly following these cleaning and maintenance steps for your Shark vacuum canister, you can ensure optimal performance and a longer lifespan for your vacuum. Remember to refer to the manufacturer’s guidelines for specific cleaning instructions and recommendations. Happy vacuuming!
Tips For Regular Canister Removal
Regular maintenance of your Shark vacuum canister is essential to ensure it continues to function at its best. Below are some tips for regular canister removal to keep your Shark vacuum in top condition:
Establish A Cleaning Routine
Establishing a regular cleaning routine for your Shark vacuum canister can help prevent dirt and debris from building up and making it difficult to remove. Make it a habit to empty the canister after each use and carry out a thorough cleaning every few weeks to maintain its performance.
Keep Latches And Buttons Lubricated
Regularly lubricating the latches and buttons on your Shark vacuum canister can help prevent them from getting stuck and ensure smooth and easy removal. Use a small amount of silicone or all-purpose lubricant to keep them functioning correctly.
Safe Handling Of The Canister
Removing the canister from a Shark vacuum requires proper handling to ensure its longevity and functionality. It is essential to follow safe practices when dealing with the canister to prevent damage and maintain optimal performance. Here are some important guidelines to keep in mind:
Avoid Dropping Or Mishandling
When handling the canister, it is crucial to exercise caution and avoid dropping or mishandling it, as this can lead to cracks, leaks, or other damage. Always hold the canister securely and with care to prevent any unnecessary impact or trauma that could compromise its integrity.
Protect From Water Or Moisture
The canister should be protected from water or moisture at all times. Water damage can significantly impair the performance of the vacuum and may cause irreversible harm to the internal components. It is important to store the canister in a dry and safe location to prevent any exposure to moisture.
Benefits Of Canister Removal
Removing the canister from your Shark vacuum may seem like a simple task, but did you know that it can actually provide some remarkable benefits? By taking a few extra seconds to detach the canister, you can optimize your vacuum’s airflow and suction, as well as streamline the maintenance of its filters. Let’s take a closer look at these advantages:
Improved Airflow And Suction
One of the primary benefits of canister removal is the significant improvement in airflow and suction capabilities. When the canister is detached, the airflow pathway is unobstructed, allowing for a more efficient and powerful suction. This means that your Shark vacuum will be able to capture more dirt, dust, and debris with ease, leaving your floors impeccably clean. Additionally, improved airflow ensures that your vacuum’s motor runs cooler, which can help prolong its lifespan and ensure consistent performance.
Effortless Filter Maintenance
Filter maintenance is a crucial aspect of vacuum care, as it directly impacts the unit’s suction power and ensures that the air expelled is clean and free of allergens. With canister removal, maintaining the filters becomes a breeze. Once the canister is detached, you have direct and easy access to the filters, allowing you to clean or replace them promptly. This quick and convenient process ensures that your Shark vacuum is always operating at its peak performance, maintaining optimal suction power and providing cleaner air for you and your family.
So, next time you use your Shark vacuum, take a moment to remove the canister. You’ll be amazed at how such a simple step can elevate the performance and longevity of your vacuum. By improving airflow and suction, as well as facilitating effortless filter maintenance, canister removal is a small action with big benefits.

Frequently Asked Questions Of How Do You Remove The Canister From A Shark Vacuum
How Do You Remove The Canister From A Shark Vacuum?
To remove the canister from your Shark vacuum, simply locate the release button or latch, press or lift it, and gently pull the canister away from the vacuum unit.
Why Should You Remove The Canister From Your Shark Vacuum?
Removing the canister allows you to empty the dirt and debris it has collected, ensuring optimal vacuum performance and maintaining cleanliness in your home.
What Precautions Should You Take When Removing The Canister?
Before removing the canister, make sure the vacuum is turned off and unplugged. Also, be mindful of any delicate parts or filters that should be handled with care to avoid damage.
How Often Should You Remove And Empty The Canister?
Depending on the frequency and extent of use, it’s recommended to remove and empty the canister after each vacuuming session or whenever it reaches the maximum fill line indicated on the canister.
Can You Clean The Canister After Removing?
Yes, after removing the canister, you can wash it with warm soapy water, rinse it thoroughly, and allow it to dry completely before reattaching it to the Shark vacuum.
Conclusion
Removing the canister from a Shark vacuum is a simple task that anyone can do. By following the steps outlined you can easily access and remove the canister for cleaning and emptying. Keeping your vacuum’s canister clean and free from debris is essential for optimal performance and longevity.
With this knowledge, you can confidently maintain your Shark vacuum and ensure it continues to work efficiently in keeping your home clean.