
If you own a Bissell pet vacuum, you know how important it is to keep it working at its best. But did you know that a dirty filter can slow down your vacuum and reduce its cleaning power?
You might be missing out on a truly deep clean without even realizing it. In this post, you’ll discover simple, step-by-step tips to clean your Bissell pet vacuum filter quickly and easily. By taking a few minutes to maintain your filter, you’ll get better results every time you vacuum—and keep your home fresh and free from pet hair and allergens.
Keep reading to learn how to make your vacuum work like new again!
Bissell Pet Vacuum Filter Types
Bissell pet vacuums use different types of filters to trap dirt and pet hair. Each filter works in a special way. Knowing these filters helps keep your vacuum clean and working well. This guide explains the main Bissell pet vacuum filter types.
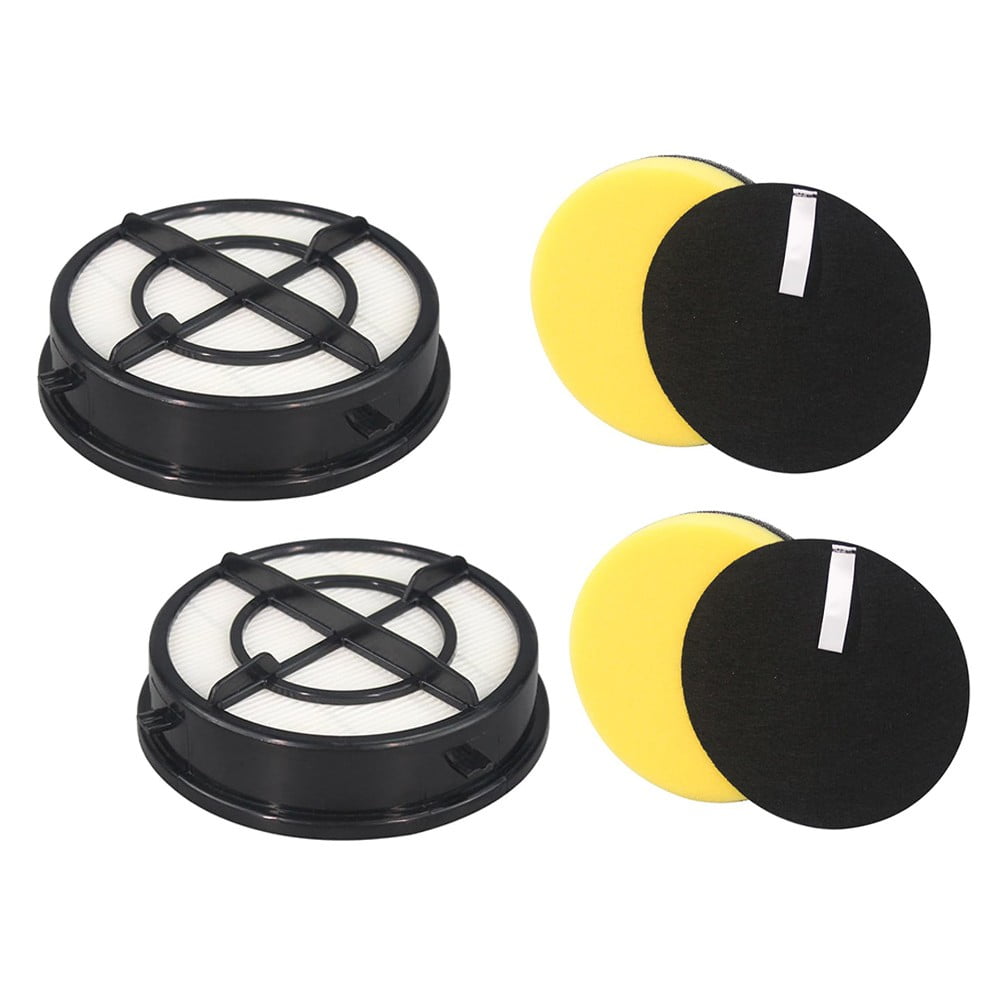
Hepa Filters
HEPA filters catch very small dust and allergens. They trap tiny particles that other filters miss. This helps improve air quality in your home. HEPA filters need gentle cleaning to keep them effective. Washing or tapping removes trapped dust without damage.
Foam Filters
Foam filters capture larger dirt and pet hair. They protect the vacuum’s motor from clogging. Foam filters can be rinsed with water and dried fully before reuse. Keeping them clean extends the vacuum’s life and maintains suction power.
Charcoal Filters
Charcoal filters reduce odors from pets and dust. They absorb smells and keep the air fresh. These filters usually need replacing after a few months. Cleaning them gently can help, but replacement ensures best odor control.
Signs Your Filter Needs Cleaning
Knowing when to clean your Bissell pet vacuum filter helps keep it working well. A dirty filter reduces cleaning power and can cause other problems. Watch for signs that your filter needs a good cleaning. Acting early protects your vacuum and home.
Reduced Suction Power
Your vacuum may lose strength if the filter clogs. Dirt blocks airflow and lowers suction. You may notice it takes longer to clean floors. The vacuum might not pick up pet hair and dust well.
Unpleasant Odors
A dirty filter can cause bad smells. Trapped dirt and pet hair start to smell musty. The vacuum may release these odors while running. Cleaning the filter helps freshen the air.
Visible Dirt Build-up
Check the filter for dirt or dust layers. Pet hair may stick to the filter surface. A clogged filter looks dark and dirty. Clean the filter if you see visible build-up. This keeps your vacuum working properly.
Gathering Cleaning Supplies
Before cleaning your Bissell pet vacuum filter, gather the right supplies. Having the proper tools makes the process smooth and effective. It also protects your filter and vacuum from damage. Use gentle items that clean well without harsh chemicals. Here are the essential supplies you need.
Soft Brush
A soft brush removes dirt and hair from the filter gently. Avoid hard brushes that can tear or damage the filter material. A small paintbrush or a clean toothbrush works well. Brush lightly to clear debris without harming the filter’s surface.
Mild Detergent
Use a mild detergent to wash the filter safely. Harsh soaps can weaken the filter fabric or leave harmful residue. Choose a gentle liquid soap or a mild dish detergent. Mix a small amount with water for cleaning. This helps break down dirt and oils without harm.
Clean Water
Clean water rinses away soap and grime completely. Use lukewarm water to avoid warping or shrinking the filter. Rinse until the water runs clear to remove all detergent. This step ensures no residue stays on the filter, keeping it fresh and ready.

Step-by-step Cleaning Process
Keeping your Bissell pet vacuum filter clean helps maintain strong suction power. A clean filter also improves the vacuum’s lifespan. Follow this step-by-step cleaning process to keep your filter working well. It is simple and takes only a few minutes.
Removing The Filter
First, unplug the vacuum. Open the filter compartment carefully. Take out the filter gently to avoid damage. Check the filter for any stuck hair or debris. Set it on a clean surface for the next step.
Dry Cleaning Techniques
Use a soft brush to remove loose dirt from the filter. Tap the filter lightly on a hard surface to shake out dust. Avoid using sharp tools that can damage the filter. This dry cleaning keeps the filter clear between washes.
Washing The Filter
Rinse the filter under cold running water. Do not use soap or detergent as it may harm the filter. Gently squeeze the filter to remove dirt, but do not wring it. Repeat until the water runs clear and dirt is gone.
Drying The Filter Completely
Shake off excess water from the filter. Let it air dry in a warm, dry place. Avoid direct sunlight or heat sources to prevent damage. Wait at least 24 hours to ensure it is fully dry before reinstalling.
Maintaining Filter Performance
Keeping your Bissell pet vacuum filter clean is key for strong suction and longer life. A clean filter traps dirt and pet hair better. It also stops the motor from working too hard. Taking care of the filter makes cleaning your home easier and faster.
Regular Cleaning Schedule
Clean the filter every 1 to 3 months. Check it more often if you have many pets. Remove the filter from the vacuum. Tap it gently to remove dust and hair. Use cold water to rinse the filter. Let it dry completely before putting it back.
Filter Replacement Timeline
Replace the filter every 6 to 12 months. Filters lose their power over time. A worn filter lowers vacuum performance. Follow the manufacturer’s guide for your model. Use only Bissell filters for best results. Mark your calendar to remember replacement dates.
Storing Filters Properly
Store clean filters in a dry, cool place. Avoid damp or dusty areas. Keep filters away from direct sunlight. Use a sealed bag or container to protect them. Proper storage keeps filters fresh and ready to use.
Troubleshooting Common Issues
Troubleshooting common problems with your Bissell pet vacuum filter can save time and improve performance. Some issues may seem tricky but are easy to fix. Understanding these problems helps keep your vacuum running smoothly.
Filter Not Fitting Properly
Check the filter type matches your vacuum model. Align the filter carefully in its slot. Remove any dirt or debris blocking the fit. Press the filter down until it clicks or feels secure. A loose filter can cause poor cleaning results.
Persistent Odors After Cleaning
Remove the filter and wash it with warm water only. Avoid using soap or detergents that damage the filter. Let the filter dry completely before reinstalling it. Replace the filter if the smell stays after drying. Clean the vacuum tank and brush roll to reduce odors.
Vacuum Still Losing Suction
Check for clogs in the hose and brush area. Empty the vacuum dirt bin regularly. Inspect the filter for tears or heavy buildup. Replace the filter if cleaning does not restore suction. Tighten all vacuum parts to ensure no air leaks.

Frequently Asked Questions
How Often Should I Clean Bissell Pet Vacuum Filter?
Clean the Bissell pet vacuum filter after every 3-4 uses. Frequent cleaning ensures optimal suction and extends the vacuum’s lifespan. Regular maintenance prevents clogging and maintains pet hair removal efficiency.
Can I Wash Bissell Vacuum Filters With Water?
Yes, most Bissell pet vacuum filters are washable. Use cold water and mild soap to clean gently. Allow the filter to air dry completely before reinstalling to avoid damage.
What Happens If I Don’t Clean The Filter Regularly?
A dirty filter reduces suction power and vacuum efficiency. It can cause motor strain and shorten the vacuum’s lifespan. Regular filter cleaning keeps your Bissell vacuum working like new.
How Do I Remove The Filter From Bissell Pet Vacuum?
Turn off and unplug the vacuum first. Open the filter compartment as per your model’s instructions. Gently pull out the filter for cleaning or replacement.
Conclusion
Cleaning your Bissell pet vacuum filter keeps it working well. Regular care helps your vacuum pick up pet hair better. Rinse the filter gently and let it dry completely. Avoid harsh soaps or scrubbing to prevent damage. A clean filter means better suction and longer vacuum life.
Take a few minutes to clean it after every few uses. This simple step saves time and keeps your home fresh. Easy to do, great to keep your vacuum ready. Your pet’s mess doesn’t stand a chance!