
To clean a Dirt Devil vacuum filter, first remove it from the vacuum, then wash it under cold running water. Gently tap the filter to remove excess water before allowing it to air dry completely.
Keeping your Dirt Devil vacuum in top condition is crucial for maintaining a clean and healthy home. Regular cleaning of the vacuum filter is an essential step in this process. A clean filter ensures your vacuum performs efficiently, capturing dust, allergens, and small particles effectively.
Dirt and debris can quickly accumulate in the filter, leading to reduced suction power and potentially damaging the vacuum over time. By adhering to simple cleaning practices, you can extend the life of your vacuum, save money on replacements, and enjoy a cleaner living environment. Remember, a well-maintained vacuum is key to achieving spotless floors and breathable air in your home.
Introduction To Dirt Devil Vacuum Maintenance
Maintaining your Dirt Devil vacuum is key to its performance. Regular cleaning keeps it running smoothly. A key component to clean is the filter. Proper care extends your vacuum’s life and efficiency. Let’s explore why regular cleaning matters.
Importance Of Regular Cleaning
Regular cleaning prevents clogs and maintains suction. Dirt and debris can block filters over time. This leads to poor performance. Clean filters ensure optimal airflow and dust capture.
Benefits For Your Vacuum’s Performance
- Enhanced suction for better dirt pickup.
- Longer lifespan of your vacuum.
- Improved air quality with clean filters.
- Reduced energy consumption and noise.
Identifying Your Dirt Devil Filter Type
Keeping your Dirt Devil vacuum at peak performance means taking care of the filter. But first, you need to know what type of filter your vacuum uses. This guide will help you figure out the filter type and where to find it.
Standard Filters Vs. Hepa
Standard filters trap everyday dust and debris. HEPA filters, on the other hand, capture much smaller particles. They’re ideal for those with allergies. Check your vacuum’s manual to see which filter it uses.
Locating The Filter In Your Model
To find your filter, open the vacuum’s main body or dust cup. Look for a square or round filter. It may be washable or replaceable. Always refer to your model’s guide for specific instructions.
Preparation Steps Before Cleaning
Before diving into cleaning your Dirt Devil vacuum filter, proper preparation ensures a safe and effective process. This guide outlines the essential steps to get ready for cleaning. Let’s start with gathering the necessary tools.
Gathering Necessary Tools
- Screwdriver – To open the vacuum compartment.
- Soft brush – For gentle filter cleaning.
- Wash basin – If the filter is washable.
- Water – For rinsing the filter.
- Microfiber cloth – To dry the cleaned filter.
- Replacement filter (optional) – In case of non-washable filters.
Safety Precautions
- Turn off and unplug your vacuum cleaner.
- Wear gloves to protect your hands.
- Keep the vacuum on a flat surface.
- Ensure you have enough light to see clearly.
- Do not wash HEPA filters unless labeled washable.
With the right tools and safety measures in place, cleaning your Dirt Devil vacuum filter becomes an easy task. Remember, maintenance keeps your vacuum running smoothly.
Removing The Filter: A Step-by-step Guide
Maintaining your Dirt Devil vacuum ensures peak performance. A clean filter is crucial. Learn to remove and clean the filter easily.
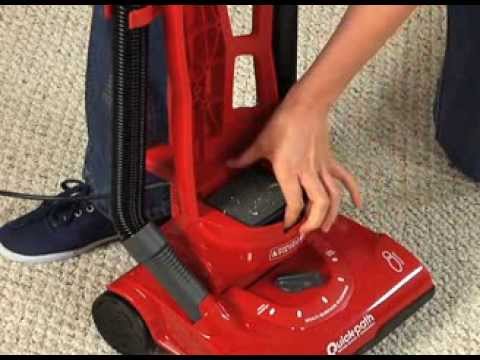
Instructions For Upright Models
- Turn off and unplug your vacuum.
- Press the release button for the dirt cup.
- Remove the dirt cup from the vacuum body.
- Locate the filter within the dirt cup.
- Grasp the filter and pull it out.
- Tap the filter against a trash can to remove loose debris.
- Proceed to wash or replace the filter as needed.
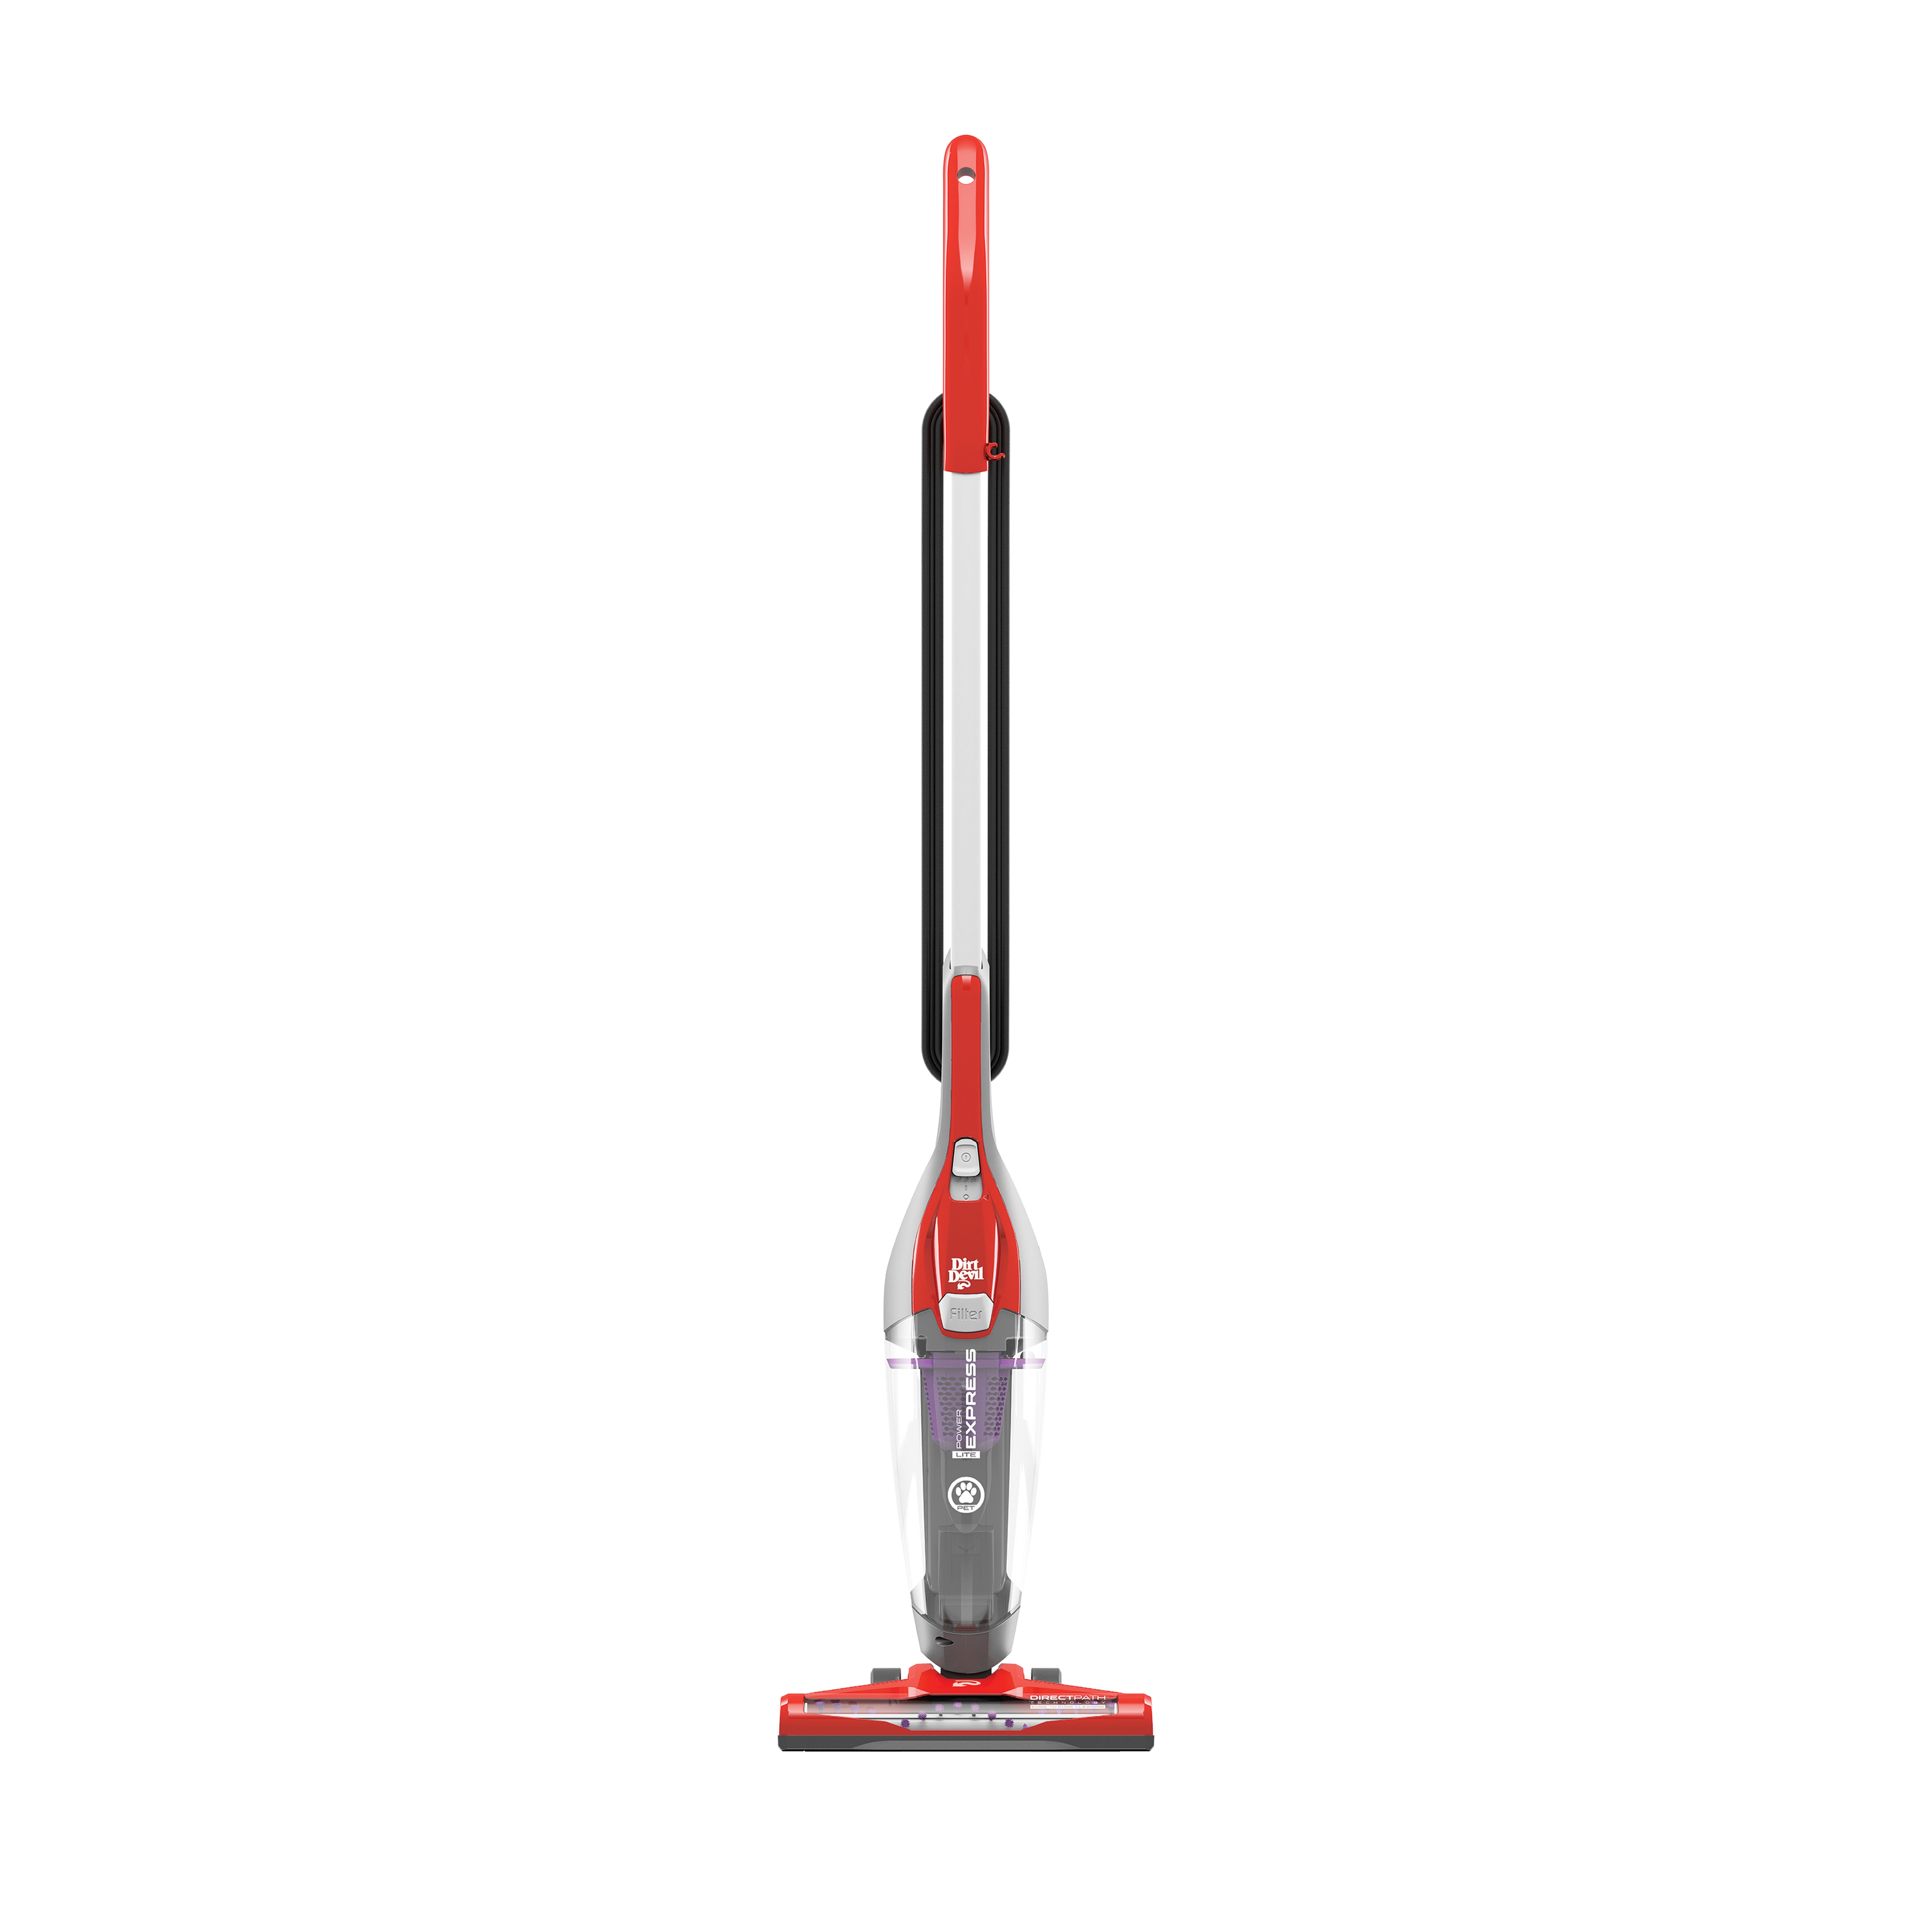
Instructions For Handheld Models
- Ensure the vacuum is off and disconnected from power.
- Find the filter cover on your handheld model.
- Gently remove the filter cover.
- Take out the filter from its compartment.
- Shake off excess dirt over a bin.
- Wash or replace the filter if necessary.
| Step | Upright Models | Handheld Models |
|---|---|---|
| 1 | Unplug and power off | Disconnect and turn off |
| 2 | Release and remove dirt cup | Locate and open filter cover |
| 3 | Pull out the filter | Extract the filter |
| 4 | Clear off loose debris | Discard the dirt |
| 5 | Wash or replace as needed | Wash or get a new filter |
Always check your model’s manual before starting. Some filters are washable, others are not. Replace filters regularly for best results. Keep your Dirt Devil running smoothly with a clean filter!
Cleaning Non-washable Filters
Cleaning Non-Washable Filters in a Dirt Devil vacuum needs care. You cannot wash these filters with water. Yet, keeping them clean is vital for your vacuum to work well. Here’s how to maintain your non-washable vacuum filters without water.
Techniques For Dust Removal
Begin by gently removing your Dirt Devil filter. Tap the filter to dislodge dust over a trash can. Use a soft brush to sweep away fine particles. Compressed air can blow out dust trapped deep within. Always perform this task outdoors to avoid indoor air pollution.
- Tap filter over trash bin
- Brush off loose dust
- Blow with compressed air
- Careful handling is key
When To Replace Instead Of Clean
Sometimes, filters are beyond cleaning. Look for signs of wear or damage. If your vacuum loses suction or emits a foul odor, consider a replacement. Check your model’s manual for filter lifespan. A fresh filter ensures peak performance and clean air.
| Sign | Action |
|---|---|
| Visible wear or damage | Replace filter |
| Loss of suction | Replace filter |
| Bad smell | Replace filter |
| Lifespan as per manual | Replace filter |
Keep your Dirt Devil running smooth with proper filter care. When in doubt, replace to maintain suction and air quality.
How To Clean Washable Filters
Cleaning your Dirt Devil vacuum’s washable filter ensures peak performance. It’s simple and extends your vacuum’s life. Let’s explore the right way to clean these filters.
Washing And Drying Tips
- Turn off the vacuum and unplug it.
- Remove the filter from the Dirt Devil vacuum.
- Rinse under cold water until the water runs clear.
- Gently tap the filter to remove excess dirt.
- Do not use soap or cleaning agents.
After washing, air-dry the filter completely. Drying takes up to 24 hours.
Avoiding Common Mistakes
- Never operate the vacuum without a filter.
- Avoid using a hair dryer or heater to dry the filter.
- Do not put the filter back in while damp.
- Replace the filter as recommended by the manufacturer.
Following these steps will help maintain your vacuum’s efficiency.
Reinstalling Your Cleaned Filter
After cleaning your Dirt Devil vacuum filter, the next step is to put it back. This step is crucial. It ensures that your vacuum works well and lasts longer. Let’s walk through the process.
Ensuring Proper Fit And Function
- Check the filter for complete dryness.
- Align the filter with the housing correctly.
- Press it gently into place until it sits snugly.
Filters must fit perfectly. A loose filter can cause damage. It may let dirt escape back into your home. Make sure everything clicks into place.
Final Checks Before Use
- Examine the filter housing for any cracks.
- Ensure seals and gaskets are not damaged.
- Test the vacuum briefly to check the airflow.
Look around the filter area. Make sure no debris is blocking the path. A clear path means better cleaning. Your vacuum is now ready for use.
Maintaining Hepa Filters For Optimal Performance
HEPA filters are crucial for your Dirt Devil vacuum’s efficiency. They trap tiny, harmful particles, ensuring clean air. Proper maintenance boosts their performance and longevity. Dirt Devil HEPA filters need regular care. Follow these steps for a clean, efficient vacuum.
Special Considerations For Hepa
Check the manual first. It will guide you on handling the HEPA filter. Always turn off and unplug your vacuum. Gently remove the filter.
- Avoid water for dry-only filters.
- Tap lightly to remove loose dirt.
- Use soft brushes for stubborn debris.
Replace the filter as recommended. This keeps your air and vacuum clean.
Extending The Life Of Your Hepa Filter
Regular checks are key. Monthly inspections will help. Clean your filter following these tips:
- Remove the filter gently.
- Shake off the dust outside.
- Rinse washable filters under cold water.
- Air-dry completely before reinserting.
Never use detergents or ovens to clean or dry. This could damage the filter and void warranties. A well-maintained HEPA filter ensures a long-lasting, clean vacuum.
Troubleshooting Common Filter Problems
Let’s solve some common problems with Dirt Devil vacuum filters. These tips help your vacuum work better.
Loss Of Suction
Loss of suction is a big problem for vacuum cleaners. Dirt and debris clog the filter. This makes the vacuum weak. Here’s how to fix it:
- Turn off and unplug your vacuum.
- Remove the filter carefully.
- Tap the filter gently to remove loose dirt.
- For washable filters, rinse under cold water. Let it dry completely.
- Replace the filter if it’s old or damaged.
Remember, a clean filter means better suction.
Unpleasant Odors
Unpleasant odors can come from a dirty filter. Bacteria and mold grow on trapped dirt. Here’s how to fix smelly filters:
- Remove and inspect the filter.
- If washable, soak it in a mix of water and mild detergent.
- Rinse thoroughly and let it air dry.
- Consider replacing the filter if the smell persists.
- Use a filter freshener for a nicer scent.
Regular cleaning stops bad smells and keeps your home fresh.
When To Consider A Filter Replacement
Maintaining your Dirt Devil vacuum means knowing when to replace filters. Filters trap dust and debris. Over time, they wear out. A fresh filter ensures peak performance. Let’s explore signs that it’s time for a new filter and the recommended intervals for replacement.
Signs Of Wear And Tear
- Decreased suction: A tell-tale sign your filter needs attention.
- Unpleasant odors: Smelly exhaust indicates a clogged filter.
- Visible damage: Holes or tears in the filter compromise cleaning power.
- Excessive dirt accumulation: If dirt escapes, it’s time to check your filter.
Recommended Replacement Intervals
Regular filter checks maintain your vacuum’s health. Manufacturers suggest specific timelines. Reference your user manual for the most accurate guidance. A general rule:
| Filter Type | Replacement Interval |
|---|---|
| Standard Filters | Every 3-6 Months |
| HEPA Filters | Every 6-12 Months |
Keep spare filters on hand. Replace promptly for best vacuum performance.
Enhancing Vacuum Performance With Clean Filters
Keeping your Dirt Devil vacuum’s filter clean is key. Clean filters mean better vacuum performance. Let’s explore how a clean filter enhances your vacuum.
Impact On Air Quality
A clean filter traps dust and allergens. This means cleaner air in your home. Dirty filters cannot catch these particles well. So, always keep your filter clean for fresh air.
- Better air flow
- Fewer allergens
- Less dust
Energy Efficiency Benefits
Dirty filters make your vacuum work harder. This uses more energy. Clean filters save energy. Your vacuum runs smoother and uses less power.
| Condition | Energy Use |
|---|---|
| Clean Filter | Lower |
| Dirty Filter | Higher |
Follow these steps to clean your filter:
- Turn off and unplug your vacuum.
- Remove the filter carefully.
- Tap it gently to remove loose dirt.
- Wash it under running water if it’s washable.
- Let it dry completely before putting it back.
Remember, always check your manual before cleaning. Some filters need special care.
Diy Filter Cleaning Solutions
Maintaining a clean Dirt Devil vacuum filter is crucial for optimal performance. Over time, filters can accumulate dust and debris, reducing efficiency. Fortunately, you don’t need expensive products for effective cleaning. This section explores DIY Filter Cleaning Solutions that are both cost-effective and environmentally friendly.
Homemade Cleaning Agents
Creating homemade cleaning agents is simple and effective. These solutions can remove dirt without harming the filter’s material.
- Baking Soda and Water: Mix to form a paste. Apply to the filter, let sit for 5-10 minutes, then rinse.
- Vinegar Solution: Combine equal parts water and white vinegar in a spray bottle. Spray onto the filter, wait 5 minutes, and rinse.
Always allow the filter to dry completely before reinstalling it in your vacuum.
Natural Methods For Odor Removal
Filters can also harbor odors. Natural remedies can help eliminate these smells effectively.
- Activated Charcoal: Place the filter in a bag with activated charcoal for 24 hours. Charcoal absorbs odors naturally.
- Sunlight Exposure: Letting the filter dry in the sun can also help reduce odors, thanks to the sun’s natural sanitizing properties.
These DIY cleaning solutions and odor removal methods ensure your Dirt Devil vacuum operates at its best, improving air quality and vacuum lifespan.
Professional Services Vs. Diy Cleaning
Keeping your Dirt Devil vacuum in top shape is crucial. You might wonder whether to clean the filter yourself or hire a pro. Let’s dive into the details.
When To Seek Professional Help
Professional services come in handy for complex issues. Consider these scenarios:
- Warranty concerns: DIY cleaning may void warranties.
- Deep cleaning: Pros have the right tools for thorough jobs.
- Time savings: Experts can save you precious time.
Cost-benefit Analysis
Deciding between DIY and professional help involves costs. Consider these points:
| Aspect | DIY Cleaning | Professional Service |
|---|---|---|
| Expense | Minimal | Higher |
| Equipment | Basic | Advanced |
| Time | More | Less |
| Expertise | Basic | Professional |
Balance the costs and benefits before deciding. DIY saves money but takes time. Pros offer convenience and expertise.
Concluding Tips And Best Practices
Cleaning your Dirt Devil vacuum filter keeps your machine running well. Let’s wrap up with some smart tips and tricks. Follow these to make your vacuum last longer.
Recap Of Key Points
- Unplug your vacuum first for safety.
- Remove the filter carefully.
- Tap the filter to remove loose dirt.
- For a deep clean, wash the filter if it’s washable.
- Let the filter dry completely before putting it back.
Maintaining Routine For Longevity
Keep your vacuum happy with these easy steps:
- Check the filter monthly.
- Replace the filter as needed, usually every 3-6 months.
- Clean around the filter area to avoid clogs.
- Store your vacuum in a dry, cool place.
Following these tips ensures your Dirt Devil stays in top shape. Remember, a clean filter means a happy vacuum!
Frequently Asked Questions
How Do You Clean A Dirt Devil Vacuum Canister?
Turn off and unplug the Dirt Devil vacuum. Release the canister, empty the contents, and wash with warm, soapy water. Rinse thoroughly, let it dry completely, then reassemble.
How To Change Dirt Devil Filter?
Turn off and unplug your Dirt Devil vacuum. Open the vacuum to access the filter. Remove the old filter and dispose of it properly. Insert the new filter securely. Close the vacuum casing and restart your cleaning routine.
How Do You Clean A Dirty Vacuum Filter?
To clean a vacuum filter, first, remove it from the vacuum. Tap it gently to dislodge loose dirt. Rinse under cold water if it’s washable, then let it air-dry completely before reinstalling. Avoid using soap or harsh cleaning agents.
How Often Do You Need To Replace A Dirt Devil Filter?
Replace your Dirt Devil filter every 3 to 6 months to maintain optimal vacuum performance and air quality.
How Often Should Dirt Devil Filters Be Cleaned?
Dirt Devil filters should be cleaned every 3 to 6 months, depending on usage frequency.
Conclusion
Maintaining a clean filter in your Dirt Devil vacuum is essential for peak performance. By following the steps outlined, you can ensure efficient cleaning and prolong your device’s life. Remember, regular maintenance is key to a dust-free, healthy home environment.
Keep your vacuum running smoothly and breathe easier with a clean filter.