
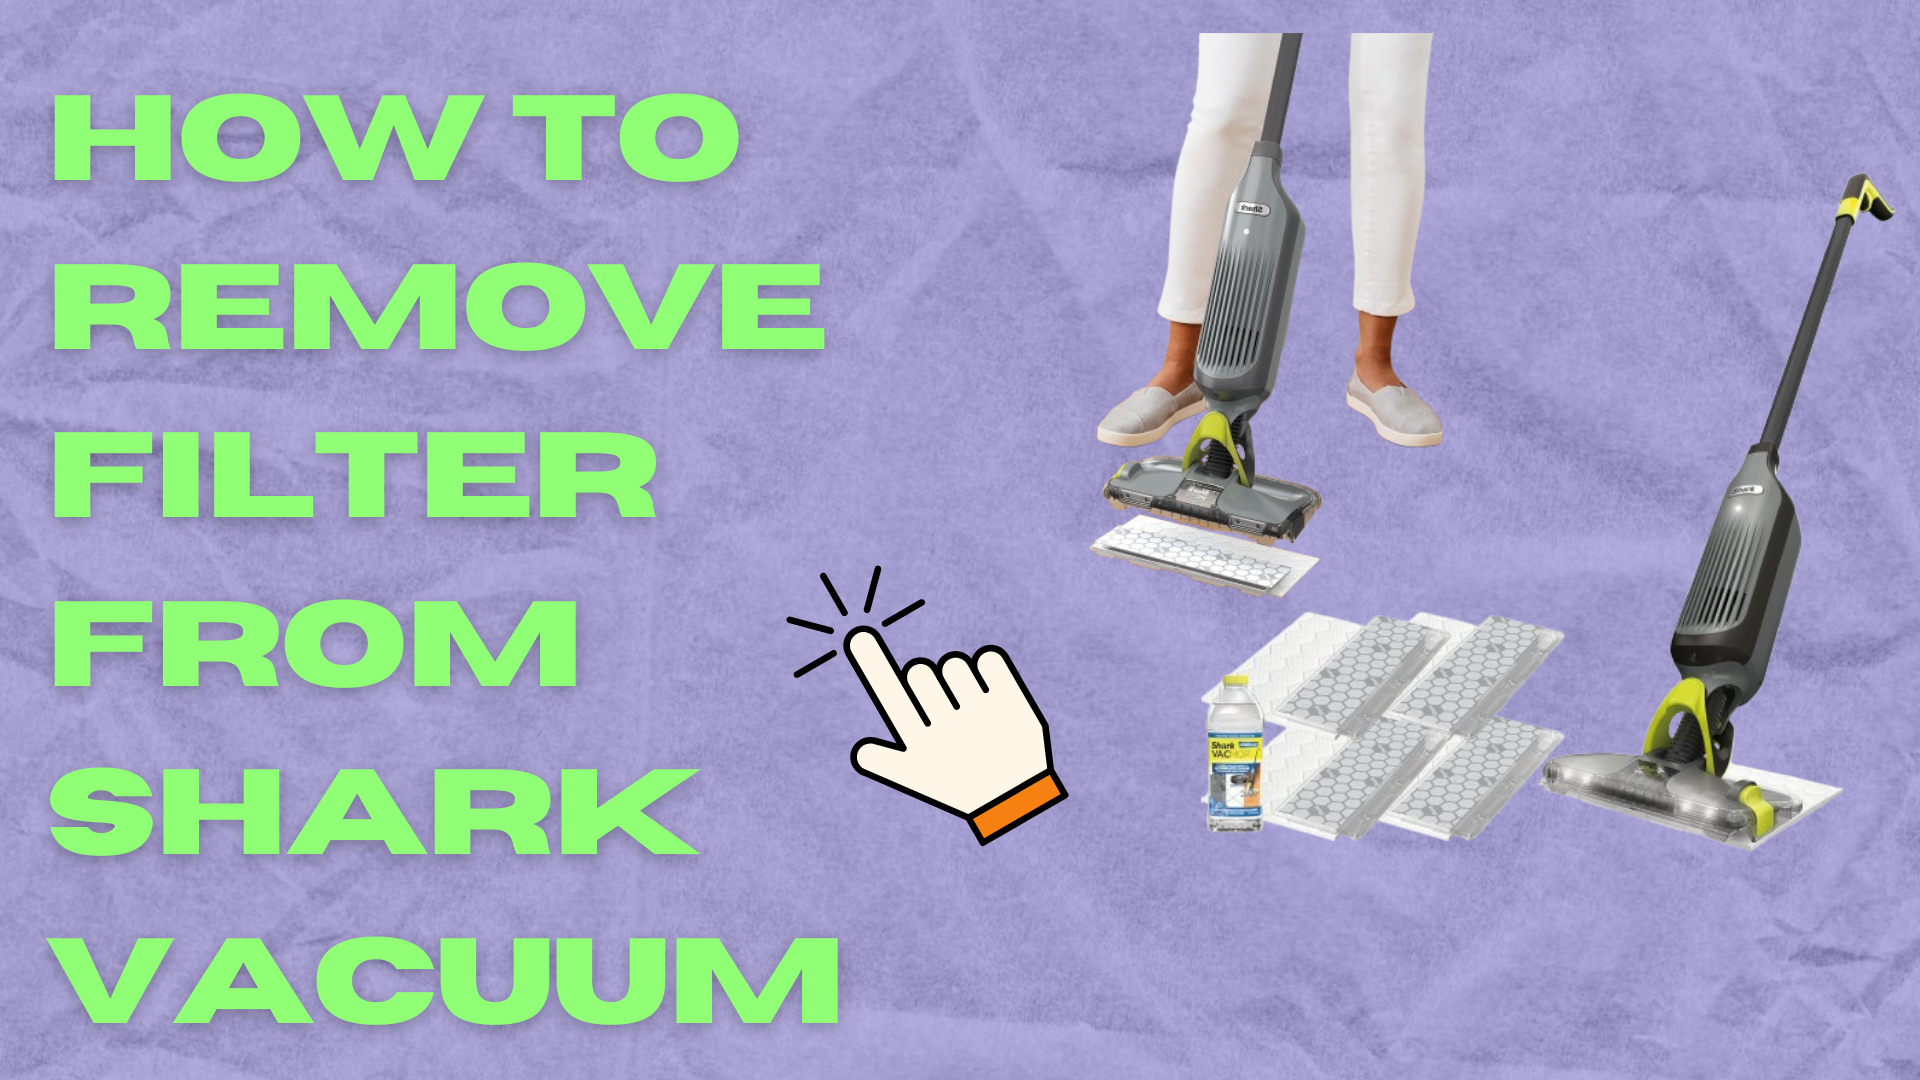
To remove the filter from a Shark Cordless Vacuum, locate the filter compartment, open it, and carefully pull out the filter.
Assessing The Vacuum
To remove the filter from your Shark cordless vacuum, start by locating the filter cover and twisting it counterclockwise to unlatch. Then, carefully lift the cover and remove the filter. Gently tap the filter to dislodge any excess dirt and debris, ensuring it is thoroughly clean before reinserting it back into the vacuum.
Locating The Filter Compartment
When it comes to removing the filter from your Shark Cordless Vacuum, the first step is to locate the filter compartment. Most Shark Cordless Vacuum models have an easily accessible filter compartment, which makes the process a breeze. To locate it, simply follow these steps:
- Begin by powering off your vacuum and unplugging it from the power source.
- Next, ensure that the vacuum’s dust cup is empty. This will allow you to access the filter compartment without any obstructions.
- Now, take a look at the back of the vacuum cleaner. You should find a latch or button that allows you to open the filter compartment.
- Press or slide the latch/button to open the filter compartment. It may require a bit of force, but be sure not to apply too much pressure to avoid any damage.
- Once the filter compartment is open, you will see the filter nestled inside.
Identifying The Filter Type
After locating the filter compartment, the next step is to identify the type of filter your Shark Cordless Vacuum uses. Different models may have different filter types, so it’s essential to know which one you have before removing it. Here’s how you can identify the filter type:
- Check the label on the filter compartment door or the user manual that came with your vacuum. It should provide information on the specific filter type to look for.
- If you don’t have the manual or label, you can also check the Shark website or contact their customer support for assistance in identifying the filter type.
- Some common types of filters used in Shark Cordless Vacuums include foam, felt, and HEPA filters. Each type serves a different purpose, so it’s crucial to identify the correct one.
- Take note of the filter type, as this will be necessary when it comes time to clean or replace the filter.
Gathering Tools
Before diving into the process of removing the filter from your Shark cordless vacuum, it’s essential to gather the necessary tools. Having the right tools at hand not only saves time but also ensures a smooth and successful filter removal. So, let’s take a look at the tools you’ll need for this task.
Selecting The Necessary Tools
To remove the filter from your Shark cordless vacuum, you’ll need the following tools:
| Tools | Description |
|---|---|
| Screwdriver | Use a screwdriver to remove any screws that may be securing the filter in place. |
| Cleaning brush | A small cleaning brush will help you remove any dirt or debris that might have accumulated on the filter. |
| Replacement filter | If you have a spare filter ready, it’s best to keep it nearby for a quick replacement. |
Having these tools within reach will make the entire process of removing the filter from your Shark cordless vacuum much easier. Once you have gathered all the necessary tools, you can move on to the next step of the filter removal process.
Preparing The Vacuum
Before removing the filter from your Shark cordless vacuum, it’s essential to properly prepare the vacuum. This ensures a smooth and hassle-free process while also maintaining the cleanliness and efficiency of the vacuum.
Powering Off The Vacuum
To start, ensure that the vacuum is powered off by pressing the power button located on the handle. This step prevents any accidents or mishaps during the filter removal process.
Emptying The Dust Cup
Next, carefully empty the dust cup by removing it from the vacuum body and disposing of the collected dirt and debris. Follow the manufacturer’s instructions to prevent any spills or messes.
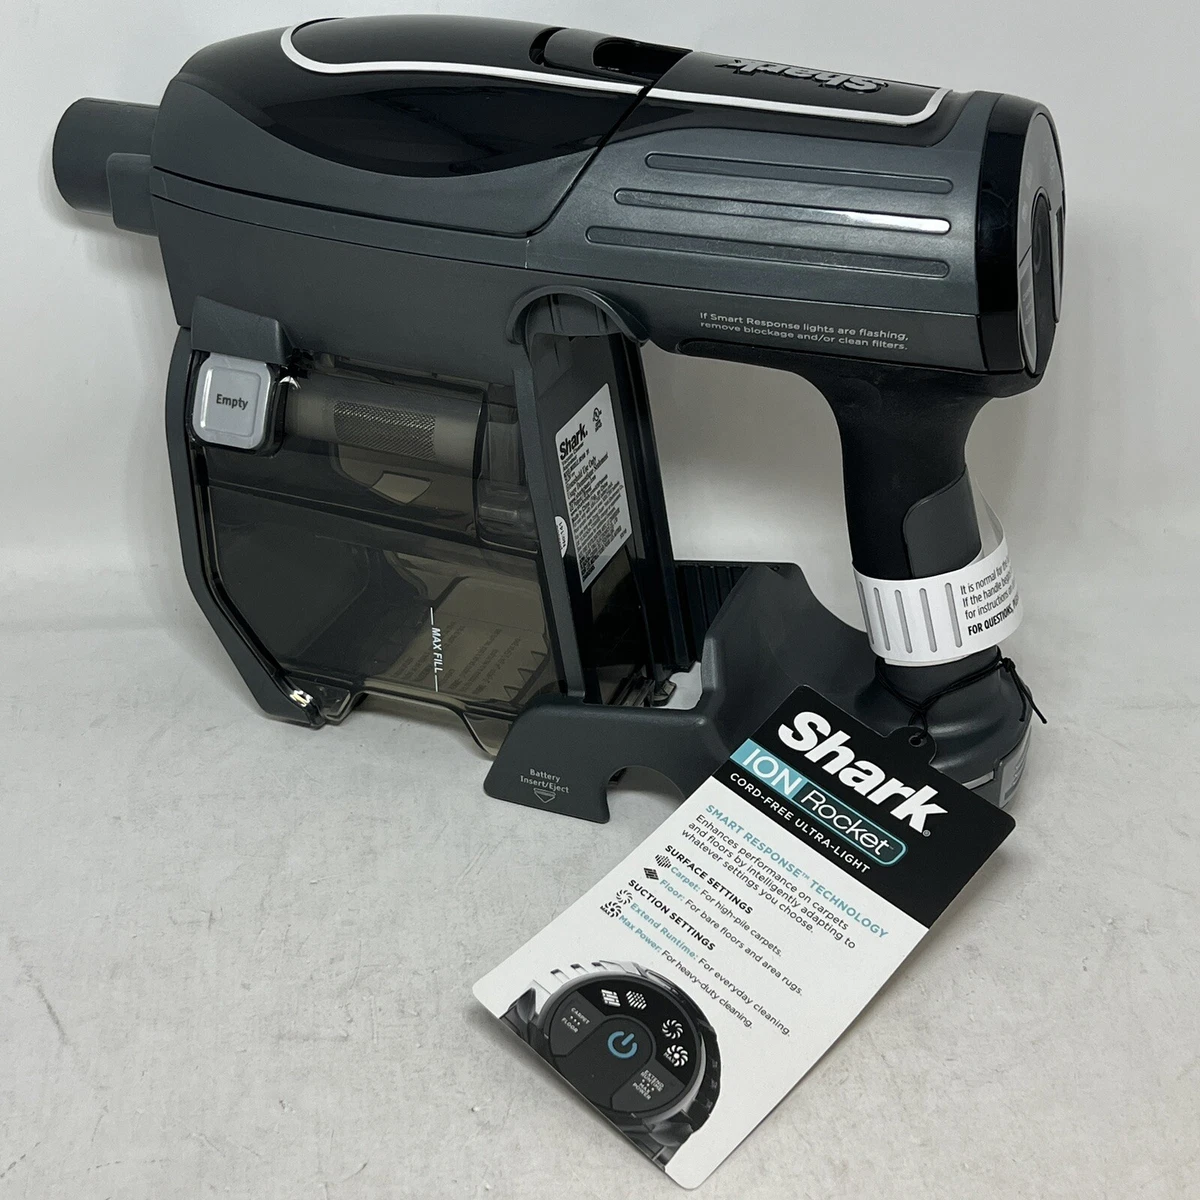
Removing The Filter
Learn how to easily remove the filter from your Shark cordless vacuum cleaner with these step-by-step instructions. Keep your vacuum performing at its best by maintaining a clean filter.
Removing the filter from your Shark cordless vacuum is a simple task that can be done in just a few easy steps. By regularly cleaning and replacing your vacuum’s filter, you can ensure optimal performance and suction power. In this section, we will guide you through the process of removing the filter from your Shark cordless vacuum.
Unlocking The Filter Compartment
The first step is to unlock the filter compartment on your Shark cordless vacuum. Locate the release button or latch that secures the filter compartment in place. Press the button or flip the latch to unlock the compartment. This will allow you to access the filter inside.
Carefully Pulling Out The Filter
After unlocking the filter compartment, it’s time to carefully pull out the filter from your Shark cordless vacuum. Depending on the model, the filter may be located in different areas of the vacuum. It is typically found near the dust cup or behind the brush roll.
If the filter is located near the dust cup, gently pull it straight out by grasping the handle or tab provided. Be sure to grip the filter firmly, but avoid applying excessive force that could damage the filter or the vacuum.
If the filter is located behind the brush roll, you may need to remove the brush roll cover first. Refer to your vacuum’s user manual for specific instructions on how to remove the cover. Once the cover is off, carefully lift the filter out of its housing.
Regardless of the filter’s location, it is important to handle it with care. Filters can be delicate and may become clogged with dirt and debris over time. To avoid spreading dust or allergens, it is recommended to remove the filter outside or over a trash bin.
Now that you have successfully removed the filter from your Shark cordless vacuum, you can proceed with cleaning or replacing it. Regular maintenance of the filter will ensure that your vacuum continues to operate efficiently and effectively.
Cleaning The Filter
When it comes to keeping your Shark cordless vacuum in top-notch condition, cleaning the filter is an essential maintenance task. The filter captures dust, dirt, and debris, ensuring that the vacuum operates efficiently and effectively. However, over time, the filter can become clogged and hinder the vacuum’s performance. In this section, we will explore the different methods to clean the filter and restore your Shark cordless vacuum’s suction power.
Understanding Cleaning Methods
Before diving into the specific cleaning methods, it’s important to understand the two main approaches: rinsing and brushing. Both methods have their advantages, so it’s recommended to try both to achieve the best results.
Rinsing Or Brushing The Filter
Rinsing the Filter: One of the simplest and most effective ways to clean the filter is by rinsing it under running water. This method works well for filters made of washable material, such as foam or fabric. Here’s how to do it:
- Remove the filter from the Shark cordless vacuum.
- Hold the filter under running water, ensuring that water flows through all sides.
- Gently squeeze the filter to dislodge any trapped debris.
- Continue rinsing the filter until the water runs clear.
- Leave the filter to air dry completely before reattaching it to the vacuum.
Brushing the Filter: For filters that are not washable, such as HEPA filters, using a soft brush can help remove dirt and dust. Follow these steps:
- Take out the filter from the vacuum.
- With a soft-bristled brush, gently sweep away the debris from the filter.
- Make sure to reach all areas of the filter, paying extra attention to corners and crevices.
- The loosened dirt can be tapped against a hard surface or blown away using compressed air.
- Once the filter is clean, re-insert it back into the Shark cordless vacuum.
Remember to clean the filter regularly to maintain optimal performance and prolong the lifespan of your Shark cordless vacuum. By choosing the appropriate cleaning method and following these steps, you can ensure that your vacuum remains efficient in picking up dirt and debris from your floors and surfaces.

Drying And Reinstalling
After cleaning the filter from your Shark cordless vacuum, the next step is to ensure it is properly dried and reinstalled. Proper drying and reinstallation of the filter help maintain the vacuum’s suction power and overall performance. Below are the essential steps to follow for drying and reinstalling the filter.
Drying The Filter
To dry the Shark cordless vacuum filter, remove it from the vacuum and shake off any excess water and debris. Then place it in a well-ventilated area and allow it to air dry completely. Avoid using heat sources such as hairdryers or placing the filter in direct sunlight, as these can damage the filter material.
Reinstalling The Filter
Once the filter is thoroughly dry, reinstalling it is a simple process. Simply insert the filter back into its original position in the vacuum. Make sure it is securely fitted to prevent any air leaks, which can affect the vacuum’s suction power. Ensure that the filter is properly aligned and locked in place before using the Shark cordless vacuum again.
Testing The Vacuum
Learn how to easily remove the filter from your Shark Cordless Vacuum with these step-by-step instructions. Keep your vacuum working efficiently with this quick and simple process.
Once you have successfully removed the filter from your Shark Cordless Vacuum, it’s time to put it to the test and check its performance. Testing the vacuum ensures that it is in optimal working condition and ready to tackle any cleaning task you throw its way. In this section, we will guide you through the steps of powering on the vacuum and checking its performance.
Powering On
To power on your Shark Cordless Vacuum, follow these simple steps:
- First, ensure that the vacuum’s battery is fully charged. Connect the vacuum to its charging station and allow it to charge until the battery is full.
- Once the battery is fully charged, disconnect the vacuum from the charging station.
- Locate the power button on the vacuum’s handle. Press and hold the power button for a few seconds until the vacuum powers on.
- You will know that the vacuum is powered on when the LED indicators on the handle illuminate.
Checking Performance
Now that your Shark Cordless Vacuum is powered on, it’s time to check its performance. Here are a few things you can do to ensure that your vacuum is working at its best:
- Start by testing the suction power of the vacuum. Place your hand in front of the nozzle and feel for strong suction. If the suction seems weak, make sure that the dust cup is empty and the filter is properly installed.
- Next, test the maneuverability of the vacuum. Move it around your space, paying attention to how easily it glides over different surfaces and around furniture. A good vacuum should be easy to maneuver and navigate in any room.
- Check if the vacuum effectively picks up different types of debris, such as dust, crumbs, or pet hair. Run the vacuum over different surfaces and observe how well it collects the dirt.
- Lastly, listen for any unusual sounds or vibrations while the vacuum is in operation. If you notice anything out of the ordinary, it may be a sign of a problem that needs further investigation.
By testing the vacuum’s powering on process and checking its performance, you can ensure that your Shark Cordless Vacuum is functioning optimally. Regular testing will not only help you identify any potential issues but also maintain the vacuum’s efficiency throughout its lifespan.
Maintenance Tips
Proper maintenance of your Shark cordless vacuum is essential to ensure its optimal performance and longevity. One important aspect of maintenance is regularly checking and cleaning the filters. Another aspect is proper storage of the vacuum to prevent any damage or malfunction. Here are some maintenance tips to help you maintain your Shark cordless vacuum.
Regular Filter Check
Regularly checking and cleaning the filters in your Shark cordless vacuum is crucial to maintain its suction power and efficiency. Filters tend to accumulate dirt, dust, and debris over time, which can clog the airflow and reduce the vacuum’s performance.
Here are some steps to follow for a regular filter check:
- Turn off and unplug the vacuum.
- Locate the filter compartment, usually located at the back or bottom of the vacuum.
- Open the filter compartment and carefully remove the filters.
- Inspect the filters for any visible dirt or debris.
- If the filters are washable, rinse them under running water until clean. Allow them to dry completely before reinserting.
- If the filters are not washable, use a soft brush or brush attachment to gently remove the dirt and debris. Be careful not to damage the filters.
- Once the filters are clean and dry, reinsert them into the vacuum.
- Close the filter compartment securely.
By regularly checking and cleaning the filters, you can prevent clogging and maintain the suction power of your Shark cordless vacuum.
Proper Storage
Proper storage of your Shark cordless vacuum is essential to protect it from damage and ensure its longevity. Here are some tips for storing your vacuum:
- Before storing the vacuum, ensure it is completely turned off and unplugged.
- Remove any attachments or accessories from the vacuum and store them separately.
- Wrap the power cord around the cord hooks or use a cord wrap to avoid tangling.
- Find a clean and dry storage space for your vacuum, away from high humidity or extreme temperatures.
- Avoid storing the vacuum on a rough or uneven surface that may cause damage.
- If possible, use the original packaging or a storage bag specifically designed for the vacuum to protect it from dust and debris.
- Store the vacuum in an upright position to prevent any potential damage to the cleaning head or bristles.
- Regularly check the storage area for any signs of pests or insects that may cause damage to the vacuum.
By following these storage tips, you can ensure that your Shark cordless vacuum stays in good condition and is ready for use whenever you need it.
Frequently Asked Questions On How To Remove Filter From Shark Cordless Vacuum
How Do I Remove The Filter From My Shark Cordless Vacuum?
To remove the filter from your Shark Cordless Vacuum, simply locate the filter compartment, open it, and pull the filter out gently.
Conclusion
In no time, you can now easily remove the filter from your Shark cordless vacuum. By following the simple steps outlined in this post, you can maintain the performance and efficiency of your vacuum. Regular filter cleaning is key to ensuring your vacuum functions at its best.
With these easy-to-follow instructions, you can now enjoy a clean and efficient cleaning experience, without any hassle.