
To replace a belt on a Bissell vacuum cleaner, simply follow these steps: unplug the vacuum, remove the base plate, take out the brush roller, replace the old belt with a new one, reattach the brush roller, and finally, put the base plate back on. Maintaining the optimal performance of your Bissell vacuum cleaner is essential for keeping your home clean and allergen-free.
One common maintenance task is replacing the belt, which can become worn or stretched over time. In this guide, we will provide you with concise and easy-to-follow instructions on how to replace the belt on your Bissell vacuum cleaner. By following these steps, you can ensure that your vacuum continues to effectively remove dirt and debris from your carpets and floors.
So, let’s dive right in and learn how to replace the belt on a Bissell vacuum cleaner!
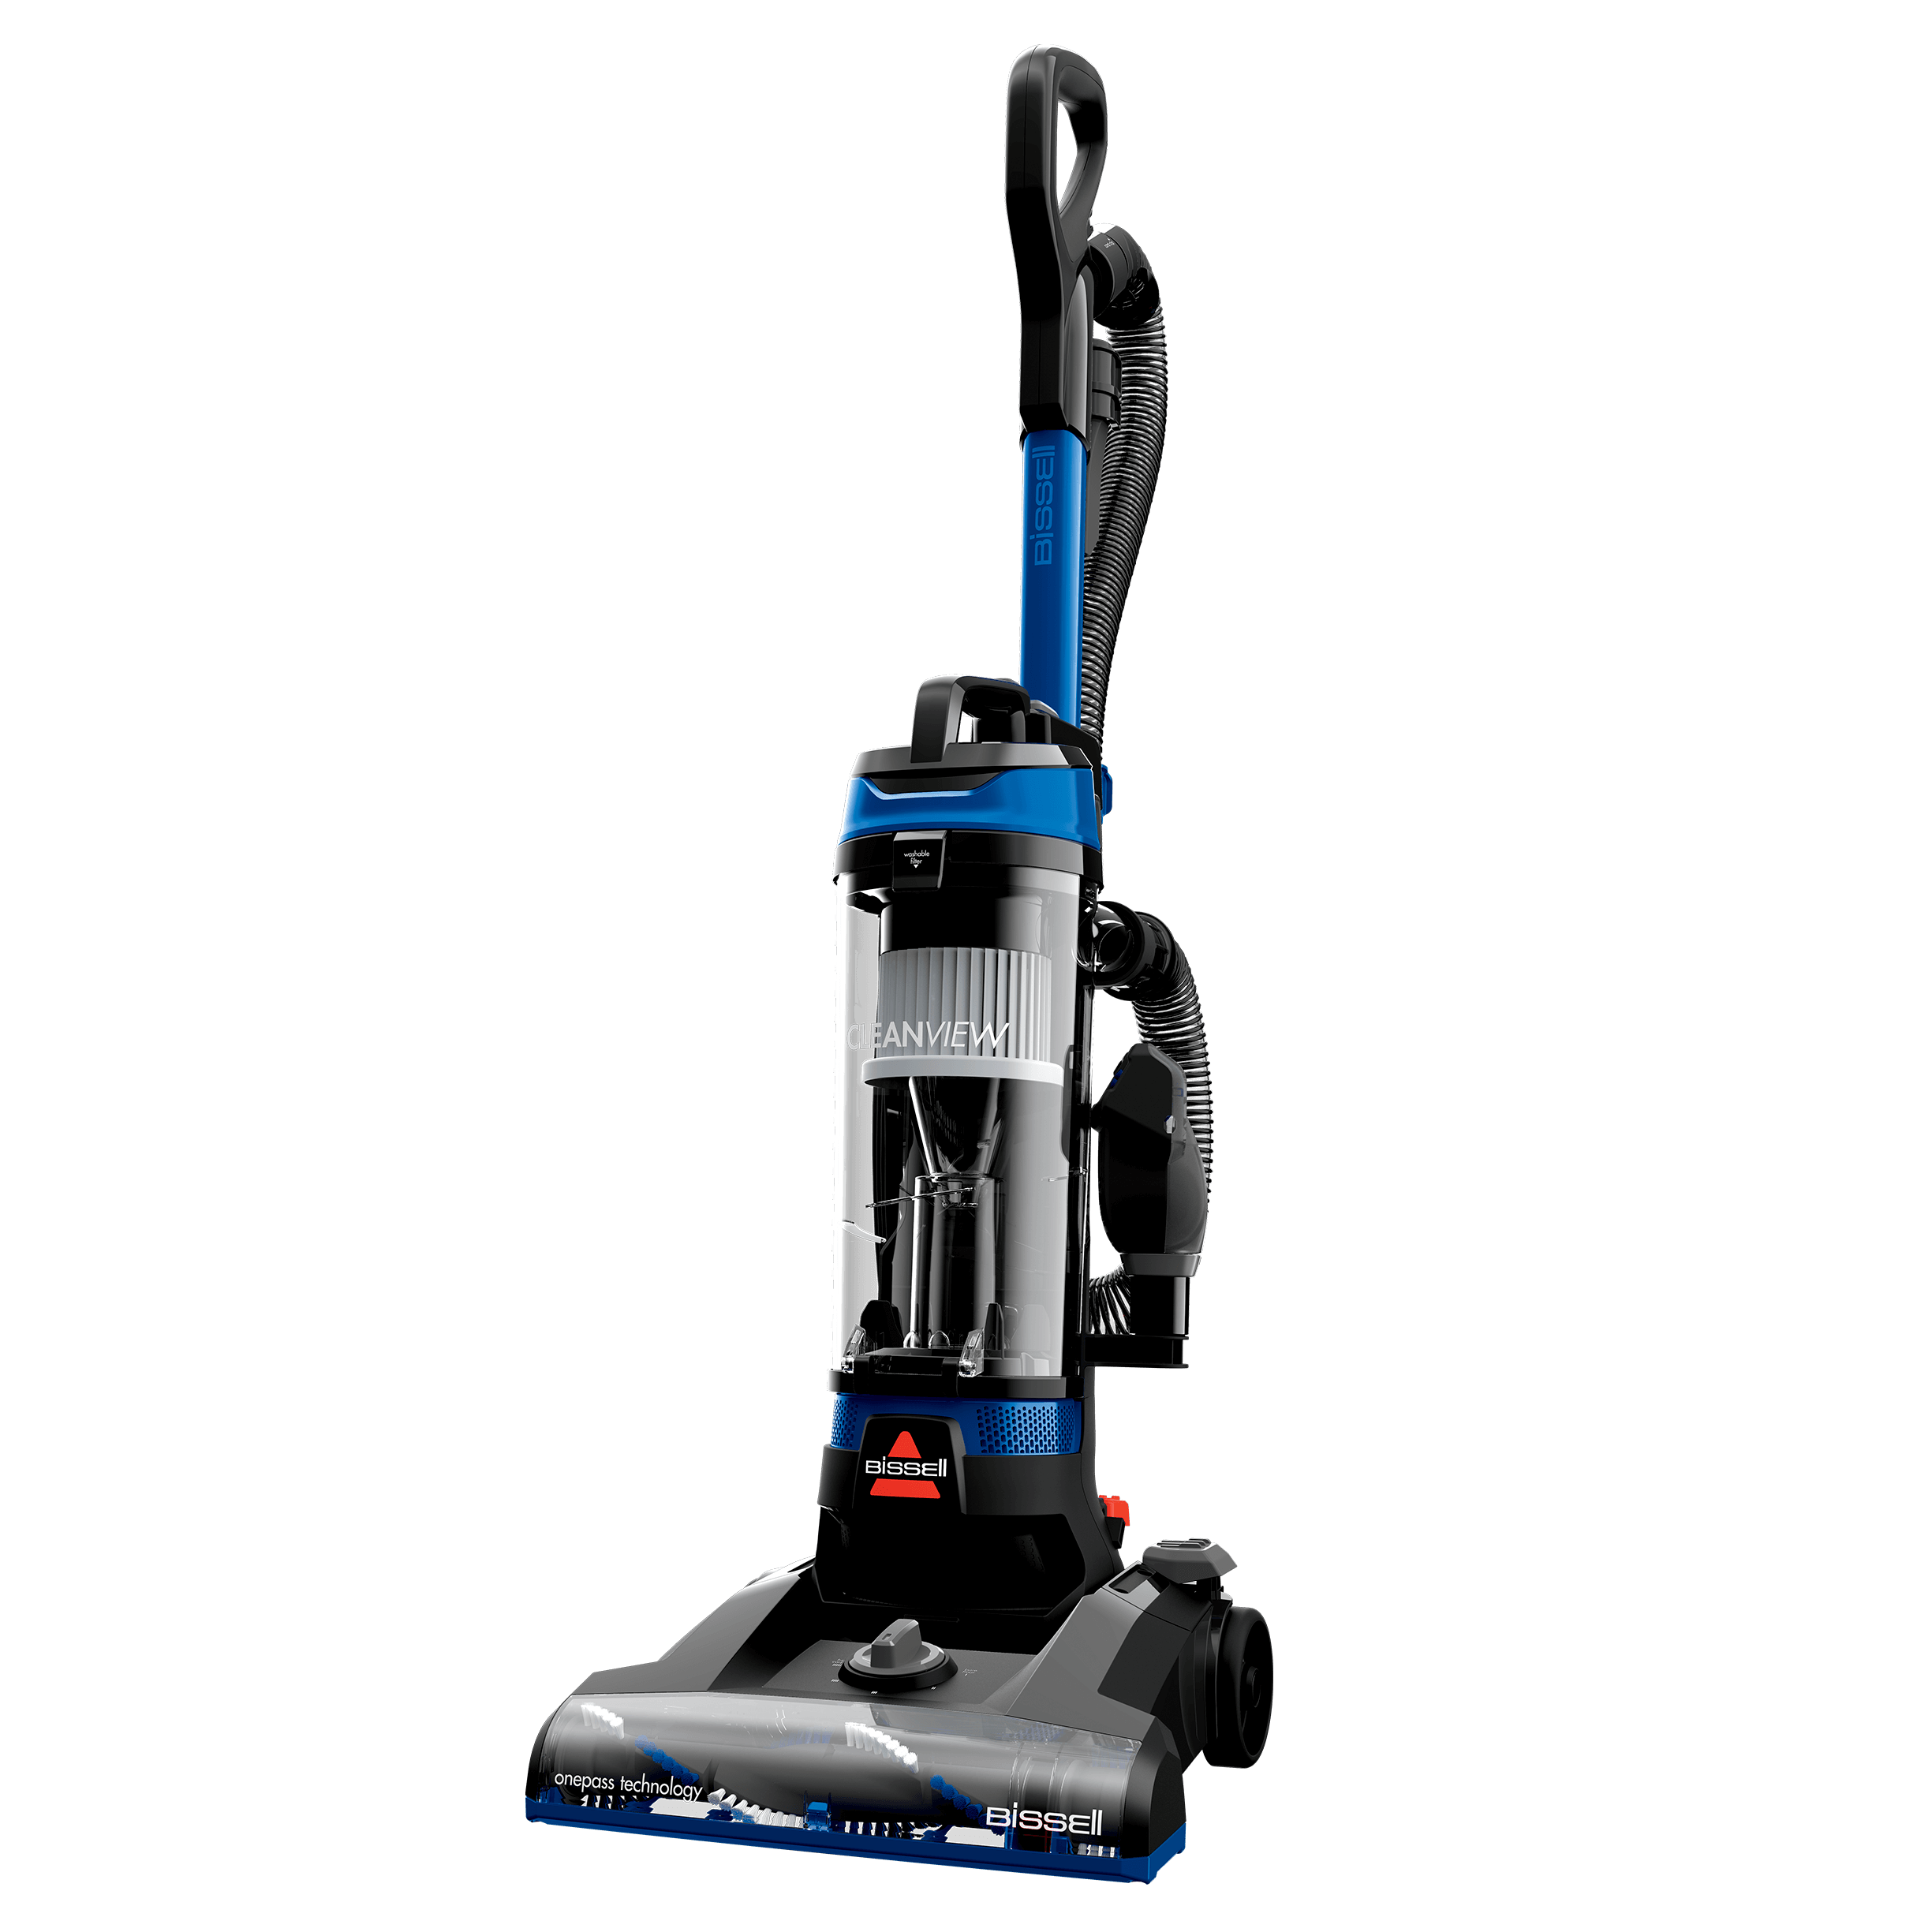
Understanding Bissell Vacuum Cleaners
If your Bissell vacuum cleaner’s belt needs replacing, simply follow these steps. Firstly, turn off and unplug the vacuum. Next, use a screwdriver to remove the brush cover and old belt. Then, install the new belt by placing it around the motor shaft and brush roller before reassembling the brush cover.
Understanding Bissell Vacuum Cleaners Bissell vacuum cleaners are popular for their efficient cleaning power and durability. Whether you have a handheld, upright, or canister vacuum, understanding how it works and its various components is essential for proper maintenance. In this section, we will discuss the types of Bissell vacuum cleaners and the signs of belt wear.
Types Of Bissell Vacuum Cleaners
Bissell offers a range of vacuum cleaner types to cater to different cleaning needs. Understanding these types will help you choose the one that suits you best. 1. Upright Vacuum Cleaners: These models are designed for deep cleaning carpets. They come with a handle, motor, brush roll, and a bag or a dirt cup for collecting the dirt. 2. Canister Vacuum Cleaners: Canister vacuums are known for their versatility. They have a separate body that contains a motor and filter, while the cleaning head is connected by a flexible hose. These vacuums are suitable for both carpeted and hard floors. 3. Handheld Vacuum Cleaners: Handheld vacuums are compact and lightweight, making them ideal for quick clean-ups and reaching tight spaces. They are usually powered by a rechargeable battery. 4. Stick Vacuum Cleaners: Stick vacuums are lightweight and easy to maneuver. They are great for quick cleanings on both floors and carpets.
Signs Of Belt Wear
One of the crucial parts of a Bissell vacuum cleaner is the belt, as it is responsible for rotating the brush roll. Over time, the belt can wear out and affect the vacuum’s performance. Here are some signs that indicate belt wear: 1. Poor Suction: If you notice a decrease in suction power or weak airflow, it could be a sign that the belt is worn and needs replacing. 2. Difficulty in Maneuvering: A worn-out belt can cause the brush roll to stop spinning or spin irregularly, making it harder to push and maneuver the vacuum cleaner. 3. Loud Noise: When the belt is worn, it may cause a squealing or grinding noise during operation. This noise indicates that the belt is slipping or rubbing against other components. 4. Visible Belt Damage: Check the belt for any signs of damage, such as fraying or stretching. If the belt appears worn or damaged, it is time to replace it. Regularly inspecting and replacing the belt on your Bissell vacuum cleaner is essential to maintain its performance and prolong its lifespan. Now that you understand the different types of Bissell vacuum cleaners and the signs of belt wear, let’s move on to the next section on how to replace a belt on a Bissell vacuum cleaner.
Tools Needed
In order to replace the belt on your Bissell vacuum cleaner, you’ll need a few tools to get the job done right. Here are the essential tools you’ll need:
Screwdriver
A screwdriver is a vital tool that you’ll require to access the inner components of your Bissell vacuum cleaner. This tool will be used to remove any screws that hold the cover or parts in place. Make sure to have a suitable screwdriver on hand before starting the belt replacement process. For most Bissell vacuum cleaners, a Phillips-head screwdriver would be ideal.
Replacement Belt
The most important tool you’ll need for this task is a replacement belt. This belt is what drives the rotating brush on your Bissell vacuum cleaner, ensuring effective carpet cleaning. Before purchasing a replacement belt, ensure that it’s compatible with your specific Bissell vacuum model. Refer to the user manual or check the manufacturer’s website to find the right replacement belt for your vacuum cleaner model.
Once you collect all the necessary tools, you’ll be well-prepared to replace the belt on your Bissell vacuum cleaner. Remember to turn off and unplug the vacuum cleaner before you begin. Let’s dive into the step-by-step process of replacing the belt to ensure your Bissell vacuum cleaner is working at its best!
Safety Precautions
Before you start replacing the belt on your Bissell vacuum cleaner, it’s important to keep safety in mind. Not only will this protect you from potential harm, but it will also ensure that the repair process goes smoothly.
Unplug The Vacuum Cleaner
The first step in ensuring safety when replacing the belt on your Bissell vacuum cleaner is to unplug the machine from the power source. This will prevent any accidental starts while you are working on the internal components.
Inspect The Power Cord
Prior to beginning the belt replacement process, carefully inspect the power cord for any signs of fraying, cuts, or damage. If you notice any issues, refrain from using the vacuum cleaner and consider getting the cord replaced to prevent any potential hazards.

Locating The Belt
When it comes to maintaining the performance of your Bissell vacuum cleaner, replacing the belt is an essential step. Over time, the belt may become worn or stretched, affecting its ability to efficiently rotate the brush roll and pick up debris. No need to worry, though – replacing the belt on a Bissell vacuum cleaner is a relatively straightforward process. By following a few simple steps, you can have your vacuum cleaner up and running again in no time.
Accessing The Belt Compartment
To start replacing the belt on your Bissell vacuum cleaner, you first need to locate the belt compartment. This is usually situated on the underside or the side of the vacuum cleaner. Take a look at the user manual or the manufacturer’s website for specific instructions on the belt compartment’s location for your model.
Once you’ve identified the belt compartment’s position, you’ll need to access it. Here’s a step-by-step guide:
- Lay your vacuum cleaner on a flat surface, such as the floor or a table.
- Ensure the power cord is disconnected from the electrical outlet to avoid any accidents.
- Inspect the bottom or side of your vacuum cleaner to find the screws or latches that secure the belt compartment.
- Using a screwdriver or your hands, remove the screws or release the latches to open the belt compartment.
Identifying The Belt Position
Now that you have accessed the belt compartment, it’s time to identify the belt’s position. The belt is a flexible rubber ring that connects the brush roll to the motor shaft, enabling the brush roll to rotate when the vacuum cleaner is in operation. Follow these steps:
- Observe the belt compartment and locate the brush roll. It will typically be positioned near the belt compartment.
- Inspect the area around the brush roll to find the belt. It will be looped around the brush roll and wrapped around the motor shaft.
- You may need to remove any debris or tangled hair from the brush roll to get a clear view of the belt and its condition.
It’s crucial to accurately identify the belt’s position to ensure you replace it correctly. Taking a photo or making a sketch can be helpful if you’re unsure about the belt’s position.
Now that you know how to locate the belt on your Bissell vacuum cleaner, you can proceed to the next steps of the replacement process. Stay tuned for our upcoming blog post on how to remove and replace the belt to restore your vacuum cleaner’s optimal performance!
Removing The Old Belt
To replace a belt on a Bissell vacuum cleaner, start by removing the old belt with caution. This step is crucial for effective belt replacement.
Removing the old belt from your Bissell vacuum cleaner is a crucial step in replacing it with a new one. In this section, we will guide you through the process of removing the old belt in a few simple steps. Let’s get started!
Loosening The Belt Tension
The first step in removing the old belt from your Bissell vacuum cleaner is to loosen the belt tension. By doing so, you’ll have an easier time sliding the belt off the brush roll. To begin, make sure your vacuum cleaner is unplugged and in the upright position. Locate the brush roll cover on the bottom of the cleaner. Using a screwdriver or a coin, carefully unscrew or turn the cover counterclockwise to remove it. This will give you access to the brush roll and the old belt.
Sliding The Belt Off
Once you have removed the brush roll cover, you’ll be able to see the old belt wrapped around the brush roll. To remove it, start by gently pulling the brush roll out of the cleaner. Doing this will create enough slack to slide the belt off easily. Take note of how the belt is looped around the brush roll and the motor shaft as this will help you when installing the new belt later on. Use your fingers or a pair of pliers to slide the old belt off the brush roll and completely remove it from the vacuum cleaner.
Important Tips:
Before moving on to the next step, take a moment to inspect the condition of the old belt. Look for signs of wear, such as fraying or stretching. If the belt appears damaged, it is recommended to replace it with a new one, as a worn-out belt may impede the proper functioning of your Bissell vacuum cleaner. In this section of the blog post, we have covered the process of removing the old belt from your Bissell vacuum cleaner. By following these simple steps and ensuring the belt tension is loosened properly, you’ll be ready to move on to the next step of replacing the belt – installing the new belt. Stay tuned for the next section where we will guide you through the process of installing a new belt and keeping your vacuum cleaner running efficiently.
Installing The New Belt
When it comes to installing the new belt on your Bissell vacuum cleaner, it’s essential to ensure proper placement and tension for optimal performance. Follow the steps below to successfully install the new belt on your vacuum cleaner and get it running smoothly again.
Placing The Belt On The Motor Shaft
To begin, unplug the vacuum and turn it over to access the bottom plate. Use a screwdriver to remove the screws holding the plate in place. Once the plate is removed, locate the motor shaft and slide the new belt onto it. Ensure that the belt is centered and straight on the shaft for proper operation.
Adjusting The Belt Tension
After placing the belt on the motor shaft, it’s important to adjust the tension to prevent slippage and ensure efficient operation. Use your fingers to rotate the brush roll and check that the belt is moving smoothly with the brush roll. If necessary, adjust the position of the belt on the motor shaft to achieve the proper tension.
Ensuring Proper Alignment
Properly aligning the belt on your Bissell vacuum cleaner ensures optimal performance. Follow these step-by-step instructions to easily replace the belt and keep your vacuum running smoothly.
Checking The Belt Placement
To ensure the proper alignment of the belt on your Bissell vacuum cleaner, it’s important to first check its placement. Incorrect placement can cause the vacuum cleaner to not function optimally, resulting in reduced suction power and poor cleaning performance.
Here’s a step-by-step guide to checking the belt placement:
- Unplug the vacuum cleaner and turn it upside down, exposing the brush roll and the belt.
- Inspect the belt, making sure it is still intact and free from any signs of damage such as cracks or frays. If the belt is damaged, it needs to be replaced.
- Ensure that the belt is properly positioned around both the motor shaft and the brush roll. It should fit snugly without being too tight or loose.
- If the belt has slipped out of place, carefully reposition it by manually rotating the brush roll and aligning the belt back onto the motor shaft.
- Once the belt is properly aligned, give it a gentle tug to ensure it is securely in place.
Testing The Belt Tension
After checking the belt placement, the next step is to test the belt tension. Correct tension is essential for the efficient operation of the vacuum cleaner.
Here’s how you can test the belt tension:
- With the vacuum cleaner still turned upside down, manually rotate the brush roll.
- As you rotate the brush roll, check for any resistance or slipping of the belt. Ideally, the belt should grip the brush roll firmly and rotate it smoothly.
- If there is excessive resistance or the belt slips, it indicates that the belt tension is too tight. Loosen the tension by adjusting the position of the motor shaft or replacing the belt if necessary.
- Conversely, if the belt is too loose and does not rotate the brush roll properly, tighten the tension by adjusting the position of the motor shaft or replacing the belt if needed.
- Repeat this process until the belt tension is just right, providing optimal grip and rotation of the brush roll.
Ensuring proper alignment and testing belt tension are crucial steps in replacing the belt on your Bissell vacuum cleaner. By following these steps, you can maintain the optimal performance and longevity of your vacuum cleaner while ensuring efficient cleaning of your home.
Reassembling The Vacuum Cleaner
After replacing the belt on your Bissell vacuum cleaner, it’s time to reassemble the machine so you can get back to cleaning your floors. Follow these simple steps to ensure that the vacuum cleaner is properly put back together.
Securing The Belt Compartment
To start, make sure the belt compartment is securely closed to keep the belt in place during operation.
- After replacing the belt, align the tabs on the belt compartment door with the corresponding slots on the vacuum cleaner body.
- Press down firmly until you hear a click to ensure that the door is securely in place.
Attaching The Brush Roll Cover
Next, it’s time to attach the brush roll cover, which houses the brush roll and helps ensure efficient cleaning.
- Line up the brush roll cover with the slots on the vacuum cleaner head.
- Slide the cover into place and make sure it is aligned properly.
- Secure the cover by tightening the screws or latches, depending on your specific Bissell vacuum model.
- Double-check that the cover is snugly attached to prevent any issues during vacuuming.
With the belt compartment secured and the brush roll cover properly attached, your Bissell vacuum cleaner is now ready to tackle dirt and debris with ease. Remember to test the machine before use to ensure that the belt is functioning properly and the brush roll is spinning freely.
Testing The Vacuum Cleaner
Plug In The Vacuum Cleaner
Before running a test, ensure that the vacuum cleaner is securely plugged into a power outlet. Double-check that the power cord is not damaged and is properly connected to the vacuum. Safety should always come first when dealing with electrical devices.
Run A Test Vacuum
Once the vacuum cleaner is plugged in, the next step is to run a test vacuum to ensure the replaced belt is functioning properly. Turn on the vacuum and observe the rotation of the brush roll. Verify that the suction power is optimal and there are no unusual noises or odors emanating from the cleaner. If any irregularities are detected, immediately power off the vacuum and recheck the belt installation.
Troubleshooting Tips
If you’re troubleshooting a Bissell vacuum cleaner belt replacement, start by unplugging the vacuum and locating the belt access door. Once you remove the brush roll cover and old belt, you can install the new belt according to the manufacturer’s instructions.
Finally, reassemble the vacuum and test it out.
Checking For Unusual Noises
If you’re experiencing unusual noises coming from your Bissell vacuum cleaner, it could be an indication that the belt needs to be replaced. These noises, like squeaking or grinding sounds, often occur when the belt is worn out or misaligned. Don’t worry, troubleshooting this issue is easier than you might think!
To begin, turn off the vacuum and unplug it from the power source. Then, remove the dirt collection container or bag and visually inspect the belt for any signs of damage or wear. Make sure to check for any debris or obstructions that may be affecting the belt’s performance. If you notice any loose or broken parts, it’s a clear indication that the belt needs to be replaced.
Assessing Belt Functionality
Once you’ve checked for unusual noises and visually inspected the belt, it’s time to assess its functionality. A belt that is functioning properly should be taut and able to rotate smoothly. However, if you notice that the belt is loose, stretched, or has any signs of wear and tear, it’s time to replace it. A loose or worn-out belt can lead to decreased suction power and inefficiency in your vacuum cleaner.
If you’re unsure whether the belt is causing the issue or there could be another underlying problem, a simple test can help determine its functionality. With the vacuum turned off and unplugged, manually rotate the brushroll to ensure it spins freely. If there is resistance or the brushroll doesn’t spin at all, it’s a clear indication that the belt needs to be replaced.
Replacing the belt on your Bissell vacuum cleaner is a simple task that can be done by following the manufacturer’s instructions. Often, you’ll need to remove a few screws or clips to access the brushroll and belt area. Once you’ve gained access, carefully remove the old belt and replace it with a new one, making sure it is properly aligned and secured. After reassembling your vacuum, give it a test run to ensure that the new belt has resolved the issue.
By troubleshooting and replacing your vacuum cleaner’s belt, you can restore its optimal performance and keep your floors clean and fresh. Remember to always refer to the manufacturer’s instructions for specific guidance on belt replacement for your Bissell vacuum cleaner model.
Maintenance Tips
Learn how to easily replace the belt on your Bissell vacuum cleaner with these helpful maintenance tips. Keep your vacuum working efficiently with this simple step-by-step process.
Maintaining your Bissell vacuum cleaner is crucial to ensure its efficiency and longevity. One important aspect of maintenance is regularly inspecting and replacing the belt. By adhering to a few simple tips, you can keep your vacuum cleaner belt in optimal condition, allowing it to effectively remove dirt and debris from your floors. In this section, we will discuss two key aspects of belt maintenance: Regular Belt Inspection and Proper Storage Practices.
Regular Belt Inspection
Regularly inspecting the belt of your Bissell vacuum cleaner is essential to ensure its functionality. By checking the belt at least once a month, you can identify any signs of wear or damage, allowing you to replace it promptly. Here are some steps to follow for a thorough belt inspection:
- Turn off and unplug the vacuum cleaner.
- Locate the belt access plate, typically situated on the underside of the vacuum cleaner.
- Remove the belt access plate, exposing the belt.
- Visually inspect the belt for any signs of fraying, cracking, or stretching.
- If the belt appears worn or damaged, it is time to replace it.
- Refer to the manufacturer’s instructions or consult the user manual for guidance on specific belt replacement procedures.
Proper Storage Practices
Properly storing your Bissell vacuum cleaner when not in use is crucial to prevent unnecessary strain on the belt. By following these storage practices, you can ensure that your vacuum cleaner is ready for use whenever you need it:
- Avoid storing your vacuum cleaner in extreme temperatures or direct sunlight, as this can degrade the belt material.
- Use a clean and dry storage area to prevent debris or moisture from accumulating on the belt or other crucial components.
- If possible, store the vacuum cleaner in an upright position to minimize pressure on the belt.
- Consider using a vacuum cleaner storage bag for added protection against dust and dirt.
By regularly inspecting your Bissell vacuum cleaner belt and following proper storage practices, you can keep your vacuum cleaner performing at its best. These simple maintenance tips will help extend the life of your vacuum cleaner belt, ensuring efficient and effective cleaning of your floors.

Frequently Asked Questions Of How To Replace A Belt On A Bissell Vacuum Cleaner
How Often Should I Replace The Belt On My Bissell Vacuum Cleaner?
It is recommended to replace the belt on your Bissell vacuum cleaner every 6 to 12 months, depending on usage.
What Are The Signs That Indicate I Need To Replace The Belt On My Bissell Vacuum Cleaner?
If you notice a loss of suction, the brush roll not spinning, or a burning smell coming from your Bissell vacuum cleaner, it is likely time to replace the belt.
How Can I Determine The Correct Size Belt For My Bissell Vacuum Cleaner?
To find the correct size belt for your Bissell vacuum cleaner, check the owner’s manual or the Bissell website for the specific model number and recommended belt size.
Can I Replace The Belt On My Bissell Vacuum Cleaner Myself, Or Should I Take It To A Professional?
Replacing the belt on your Bissell vacuum cleaner is a relatively simple DIY task that can be done at home without professional help.
Are There Any Special Tools Required To Replace The Belt On My Bissell Vacuum Cleaner?
No, all you need to replace the belt on your Bissell vacuum cleaner is a screwdriver to remove the brush roll cover and a new replacement belt.
Is There A Step-by-step Guide Available For Replacing The Belt On My Bissell Vacuum Cleaner?
Yes, you can find step-by-step guides with detailed instructions and illustrations on the Bissell website or in the owner’s manual of your specific model.
Conclusion
Maintaining your Bissell vacuum cleaner is crucial for efficient performance. By following these simple steps, you can easily replace the belt and keep your vacuum running smoothly. Regular maintenance ensures a longer lifespan for your appliance and cleaner floors for your home.
Don’t neglect the small repairs to avoid bigger problems.