
To use a Nesco Vacuum Sealer, place the open end of the bag in the sealer and close the lid securely. Press the vacuum and seal button to start the process.
A Nesco Vacuum Sealer is an essential tool for preserving food freshness. It removes air from specially designed bags, preventing spoilage and freezer burn. Using a vacuum sealer can extend the shelf life of your food significantly. This device is perfect for those who buy in bulk, garden enthusiasts, or anyone wanting to reduce food waste.
The Nesco Vacuum Sealer is easy to use and ensures your food stays fresh for longer periods. With this device, you can save money and reduce the frequency of grocery shopping trips.
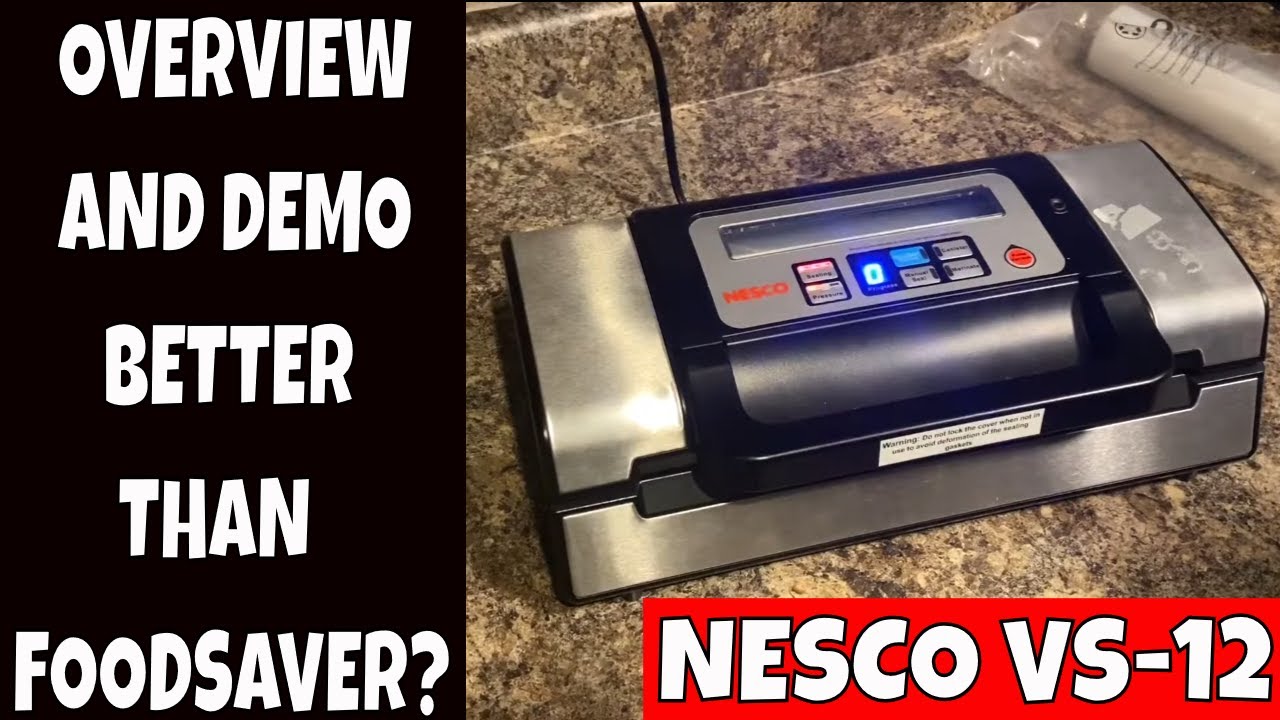
Introduction To Nesco Vacuum Sealers
Nesco vacuum sealers are great for preserving food. They keep food fresh for a long time. Using a Nesco vacuum sealer is easy and effective. These devices help in reducing food waste.
Benefits Of Vacuum Sealing
- Longer Shelf Life: Vacuum sealing keeps food fresh for weeks.
- Space Saving: Sealed bags take up less space in the fridge.
- Prevents Freezer Burn: Vacuum sealing protects food from freezer burn.
- Cost-Effective: Buying in bulk and sealing saves money.
Why Choose Nesco Brand
Nesco is a trusted brand for vacuum sealers. Their products are reliable and user-friendly. Nesco vacuum sealers come with advanced features. These features make sealing easy and quick.
| Feature | Benefit |
|---|---|
| Powerful Suction | Ensures an airtight seal every time. |
| Compact Design | Saves kitchen counter space. |
| Easy-to-Use Controls | Anyone can operate it with ease. |
| Durable Build | Lasts for many years of use. |
Getting Started With Your Nesco Vacuum Sealer
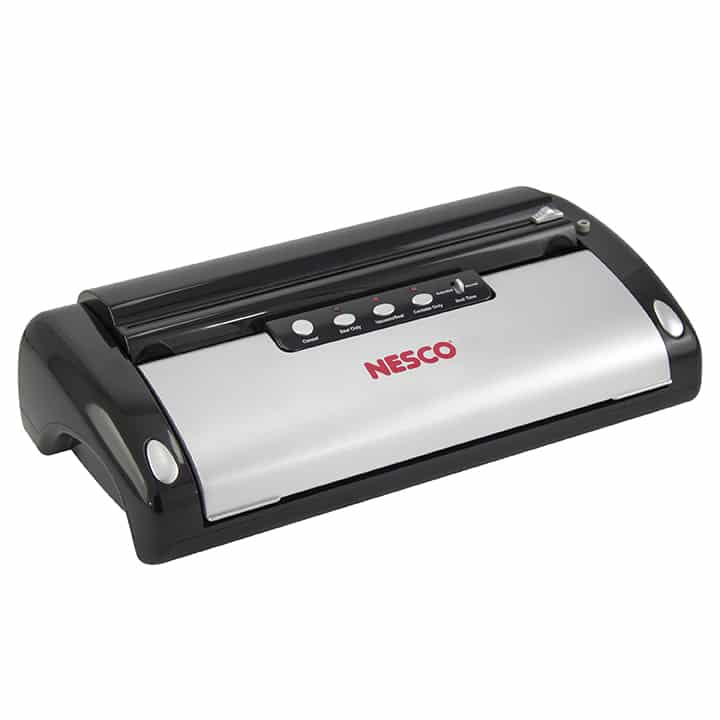
The Nesco Vacuum Sealer is a handy kitchen tool. It keeps your food fresh longer. This guide helps you get started with your new device. Learn how to set up and use your Nesco Vacuum Sealer quickly.
Unboxing And Setup
When you open the box, you will see different parts. Carefully take out each part.
- Vacuum Sealer Unit
- Sealing Bags or Rolls
- Accessory Hose (if included)
- User Manual
Place all parts on a clean, flat surface. Check that everything is in good condition.
Next, find a suitable spot in your kitchen. Make sure you have an electrical outlet nearby. Plug in your Nesco Vacuum Sealer.
Now, your vacuum sealer is ready for use.
Understanding The Components
The Nesco Vacuum Sealer has several key components. Knowing them helps you use the device better.
| Component | Description |
|---|---|
| Sealing Strip | This part seals the bag. |
| Vacuum Chamber | This area removes air from the bag. |
| Control Panel | Buttons to operate the device. |
| Accessory Port | Connects the hose for jars. |
Each part plays an important role. The sealing strip is where the bag gets sealed. The vacuum chamber removes the air from the bag. The control panel has buttons to start and stop the process. The accessory port is for sealing jars or containers.
Understanding these components helps you use your Nesco Vacuum Sealer easily.
Pre-sealing Preparations
Before using your Nesco Vacuum Sealer, it’s crucial to complete some pre-sealing preparations. These steps ensure your food items are sealed efficiently and stay fresh longer. Let’s dive into the essential preparations you need to make.
Selecting The Right Bags
Choosing the correct bag is important. Nesco Vacuum Sealers work best with compatible bags. Ensure your bags are designed for vacuum sealing. They should be sturdy and BPA-free.
- Look for bags that are puncture-resistant.
- Select a size that matches your food items.
- Check the manufacturer’s guidelines for bag compatibility.
Using the right bags prevents air leaks and preserves food freshness.
Preparing Food Items For Sealing
Before sealing, prepare your food items properly. This step is vital for an effective seal.
- Clean and dry your food items thoroughly.
- Cut large items into smaller, manageable pieces.
- Blanch vegetables to retain their color and texture.
- Pre-freeze liquids or moist foods to avoid messes.
Proper preparation helps in achieving a tight seal and extends shelf life.
| Food Type | Preparation Tip |
|---|---|
| Meats | Trim excess fat and pre-freeze |
| Fruits | Wash, dry, and slice |
| Vegetables | Blanch and cool before sealing |
Following these pre-sealing preparations ensures your Nesco Vacuum Sealer works efficiently.
Operating The Nesco Vacuum Sealer
The Nesco Vacuum Sealer helps keep your food fresh for longer. Understanding its operation is essential. This section will guide you through the steps. We’ll cover sealing and adjusting the vacuum strength.
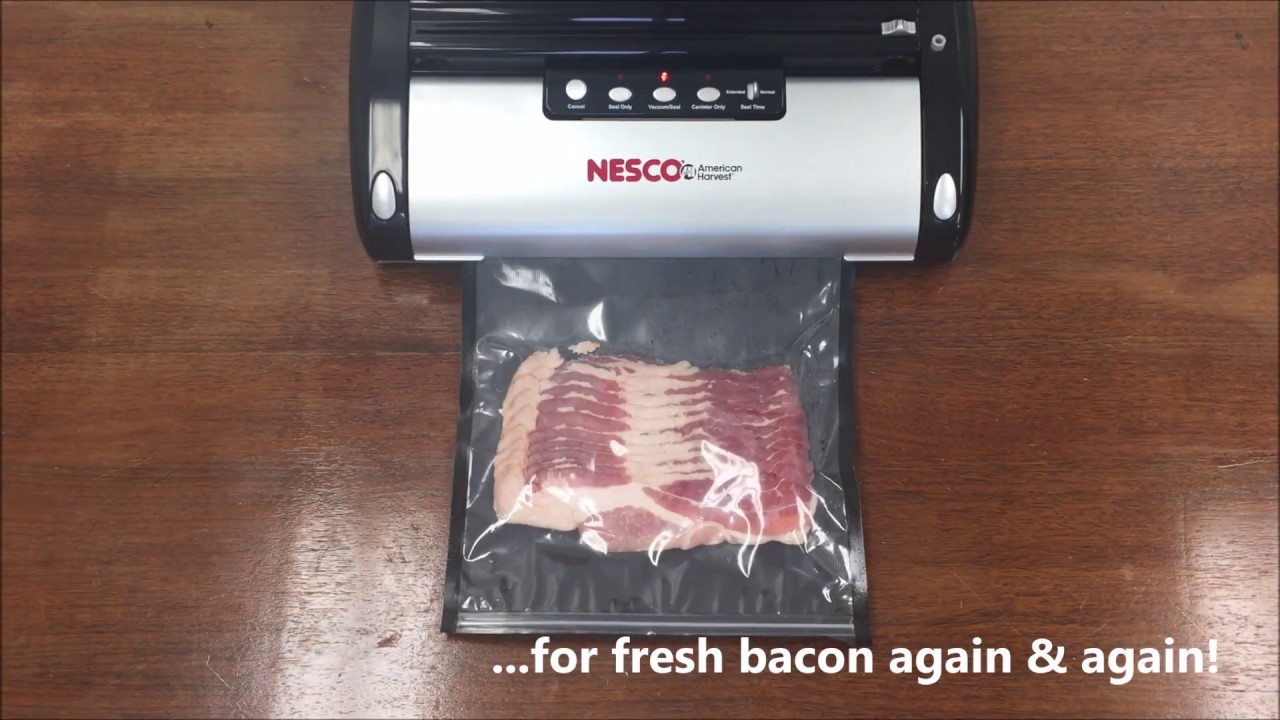
Step-by-step Sealing Process
- Prepare the bag: Place your food inside the vacuum bag. Ensure the edges are clean and dry.
- Place the bag: Position the open end of the bag in the vacuum channel.
- Close the lid: Press down firmly until you hear a click.
- Start the vacuum: Press the ‘Vacuum & Seal’ button. The machine will remove the air.
- Wait for the seal: The machine will switch to sealing mode. Wait for the light to turn off.
- Remove the bag: Open the lid and take out your sealed bag. Check the seal for any gaps.
Adjusting Vacuum Strength
Adjusting the vacuum strength is crucial for delicate items. Here’s how to do it:
- Press the ‘Mode’ button: Select the desired vacuum strength setting.
- Choose ‘Gentle’ for delicate foods: Use this setting for items like bread or berries.
- Choose ‘Normal’ for regular items: This setting works for meat and vegetables.
Adjusting the vacuum strength helps protect your delicate food items. Always use the correct setting for the best results.
Sealing Different Types Of Food
Using a Nesco Vacuum Sealer to preserve different types of food can be easy and efficient. Properly sealing foods helps keep them fresh longer. Here are some tips for sealing various food types using your Nesco Vacuum Sealer.
Tips For Dry Goods
Dry goods like beans, rice, and pasta need special care. Follow these tips for the best results:
- Pre-freeze grains: Freeze for a few hours to avoid crushing.
- Use the correct bag size: Make sure the bag fits the amount of food.
- Leave extra space: Leave at least 2 inches at the top of the bag.
- Label bags: Write the date and contents before sealing.
These steps help ensure your dry goods stay fresh and organized.
Best Practices For Moist Foods
Moist foods like meats and vegetables require special handling. Follow these best practices:
- Pat dry: Use a paper towel to remove excess moisture.
- Pre-freeze: Freeze items for 1-2 hours to firm up.
- Use a barrier: Place a folded paper towel inside the bag, above the food.
- Double seal: Seal the bag twice for extra protection.
These practices help prevent liquid from interfering with the seal and keep your food fresh.
Maintenance And Care For Longevity
Proper maintenance and care ensure your Nesco Vacuum Sealer lasts long. Regular cleaning and maintenance checks keep it running efficiently. Follow these steps to keep your vacuum sealer in top shape.
Cleaning The Sealer
Always unplug the vacuum sealer before cleaning. This prevents accidents. Use a damp cloth to wipe the exterior. Avoid using harsh chemicals. For the sealing strip, use a soft cloth. Remove any food residue gently.
Detach the drip tray if your model has one. Wash it with warm, soapy water. Dry it thoroughly before reattaching. Keep the vacuum chamber clean. Use a damp cloth to wipe it out regularly.
Regular Maintenance Checks
Conduct regular maintenance checks to ensure your sealer works well. Inspect the sealing strip for wear and tear. Replace it if it appears damaged. Check the gaskets. They should be clean and free of cracks.
Test the vacuum pump. Ensure it creates a strong vacuum. If the vacuum seems weak, it may need servicing. Keep an eye on the power cord. Ensure there are no frays or damage.
Here is a quick maintenance checklist:
| Task | Frequency |
|---|---|
| Clean exterior | After each use |
| Wipe sealing strip | After each use |
| Inspect sealing strip | Monthly |
| Check gaskets | Monthly |
| Test vacuum pump | Monthly |
| Inspect power cord | Monthly |
Troubleshooting Common Issues
Using a Nesco Vacuum Sealer can simplify food storage. Sometimes, you might face issues. Here, we address common problems and solutions.
Resolving Seal Imperfections
Seal imperfections can cause food to spoil. Follow these steps to ensure a tight seal:
- Check the sealing strip for food particles. Clean it with a damp cloth.
- Ensure the bag is flat. No wrinkles should be present at the sealing area.
- Adjust the sealing time. Increase it if the seal is weak.
- Use the correct bag size. Overfilled bags may not seal properly.
Managing Vacuum Pressure Problems
Sometimes, the vacuum pressure may drop. To fix this, try the following:
- Check for leaks. Ensure the bag has no holes.
- Inspect the gasket. Clean or replace if it’s worn out.
- Ensure the lid is closed. Press firmly to lock it in place.
- Avoid overfilling. Leave enough space for the vacuum to work.
Addressing these issues ensures your Nesco Vacuum Sealer works perfectly. Keep your food fresh and safe.
Creative Uses For Your Vacuum Sealer
A Nesco Vacuum Sealer is not just for food preservation. This versatile tool offers a range of creative uses. From household hacks to DIY projects, the possibilities are endless. Let’s explore some exciting ways to use your vacuum sealer.
Beyond Food Preservation
Your vacuum sealer can do more than keep food fresh. Here are some innovative ideas:
- Marinating Meat: Seal meat with marinade to speed up the process.
- Freezing Soups: Portion soups and vacuum seal for easy storage.
- Storing Spices: Keep spices fresh by vacuum sealing them.
- Preventing Freezer Burn: Seal meats and veggies to avoid freezer burn.
Diy Projects And Hacks
Get creative with these DIY projects using your vacuum sealer:
- Seal Craft Supplies: Organize and preserve crafting materials.
- Waterproofing Documents: Protect important papers from water damage.
- Travel Packing: Vacuum seal clothes to save suitcase space.
- First Aid Kits: Create compact and moisture-proof first aid kits.
Let’s dive into a few projects in detail:
| Project | Description |
|---|---|
| Seal Craft Supplies | Keep beads, ribbons, and threads organized and tangle-free. |
| Waterproofing Documents | Seal important documents like birth certificates and passports. |
| Travel Packing | Compress clothes to maximize suitcase space. |
| First Aid Kits | Seal bandages, antiseptics, and other essentials in a compact kit. |
Using your Nesco Vacuum Sealer creatively can save time and space. It can also protect your belongings. Try these ideas and discover even more uses!
Food Safety Considerations
Using a Nesco Vacuum Sealer helps keep food fresh for longer. But, food safety is very important. Proper handling and storage are key. This ensures food stays safe to eat.
Safe Handling And Storage
Handle food with clean hands. Wash hands before touching food. Use clean utensils and surfaces. This helps prevent germs from spreading.
Store sealed food in the right places. Keep meat in the fridge or freezer. Store dry goods in a cool, dark place. Check the vacuum seal is tight. This stops air from getting in.
Avoiding Cross-contamination
Keep raw and cooked foods separate. Use different cutting boards for meat and vegetables. Clean surfaces between uses. This stops germs from spreading.
Use the Nesco Vacuum Sealer to pack food items separately. Label each bag with the date and contents. This helps you know what’s inside without opening it.
Do not reuse bags for different foods. Each bag should be used once. This ensures no germs are carried over.
| Food Item | Storage Method | Duration |
|---|---|---|
| Meat | Fridge or Freezer | Up to 6 months |
| Vegetables | Fridge | Up to 1 month |
| Dry Goods | Pantry | Up to 1 year |
- Clean hands and surfaces before handling food.
- Store food in appropriate places.
- Keep raw and cooked foods separate.
- Use different cutting boards for different foods.
- Label vacuum-sealed bags with date and contents.
Maximizing Savings With Vacuum Sealing
Vacuum sealing is a powerful tool to save money. The Nesco Vacuum Sealer helps you store food longer and fresher. Below, we’ll explore how vacuum sealing maximizes your savings.
Reducing Food Waste
Food waste is a major issue in many households. With the Nesco Vacuum Sealer, you can reduce food waste dramatically. Sealed food stays fresh up to five times longer.
Imagine buying fresh vegetables and fruits. Without a vacuum sealer, they spoil quickly. But, with vacuum sealing, you can enjoy them for weeks.
Here’s a simple table showing the difference:
| Food Item | Without Vacuum Sealing | With Vacuum Sealing |
|---|---|---|
| Strawberries | 3-7 days | 2-3 weeks |
| Cheese | 1-2 weeks | 4-8 months |
| Meat | 6 months | 2-3 years |
Bulk Buying And Meal Prepping
Bulk buying can save a lot of money. But, storing bulk items can be a challenge. The Nesco Vacuum Sealer solves this problem.
You can buy large quantities of meat, grains, and more. Seal them into smaller portions. This way, you can use only what you need and avoid spoilage.
Meal prepping is another area where vacuum sealing shines. Prepare meals ahead of time and seal them. Your meals stay fresh and ready to eat.
Follow these steps for effective meal prepping:
- Cook your meals in bulk.
- Cool the food completely.
- Place meals in vacuum bags.
- Seal using your Nesco Vacuum Sealer.
- Store in the fridge or freezer.
This method saves you time and money. You eat healthier and avoid buying takeout.
Frequently Asked Questions
How Do You Use A Vacuum Sealer Step By Step?
1. Place food in the vacuum seal bag. 2. Insert the bag’s open end into the sealer. 3. Close the vacuum sealer lid. 4. Press the vacuum button to remove air. 5. Press the seal button to seal the bag.
Why Is My Nesco Vacuum Sealer Not Vacuuming?
Your Nesco vacuum sealer might not be vacuuming due to a damaged seal, clogged air intake, or improper bag placement. Check for debris or obstructions. Ensure the bag’s open end is correctly positioned in the vacuum channel. Replace worn-out gaskets or seals to restore functionality.
Can You Use Any Bags With The Nesco Vacuum Sealer?
No, you cannot use any bags with the Nesco vacuum sealer. Use only Nesco or compatible vacuum sealer bags.
How Do I Get My Vacuum Sealer To Work?
Plug in the vacuum sealer. Place the bag’s open end in the sealing strip. Close the lid firmly. Press the seal button. Wait for the indicator light.
Conclusion
Mastering the Nesco Vacuum Sealer is simple and rewarding. Follow the steps, and you’ll preserve food effortlessly. Enjoy longer-lasting freshness and reduced waste. Your kitchen will become more efficient. Start sealing today and experience the benefits. Happy sealing!